创建一个不含路由的vue项目
(查看路由配置可以直接跳过这一段)
输入npm指令,然后写一个项目名称,之后一路回车即可
npm create vue@latest
注意这里我们不选引入vue router,成功后可以 查看目录

然后按提示信息输入指令,进入项目,安装node包,并启动项目
  cd myRouter
  npm install
  npm run dev
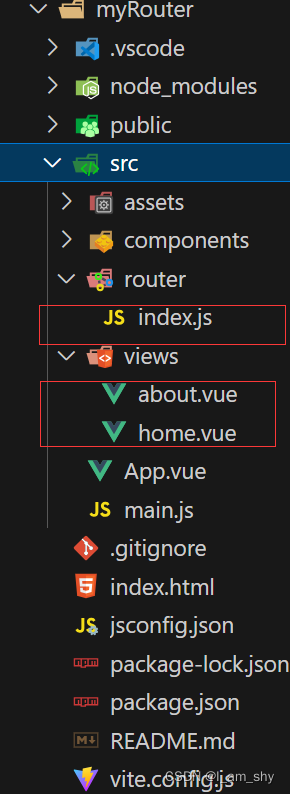
最后创建完成的目录


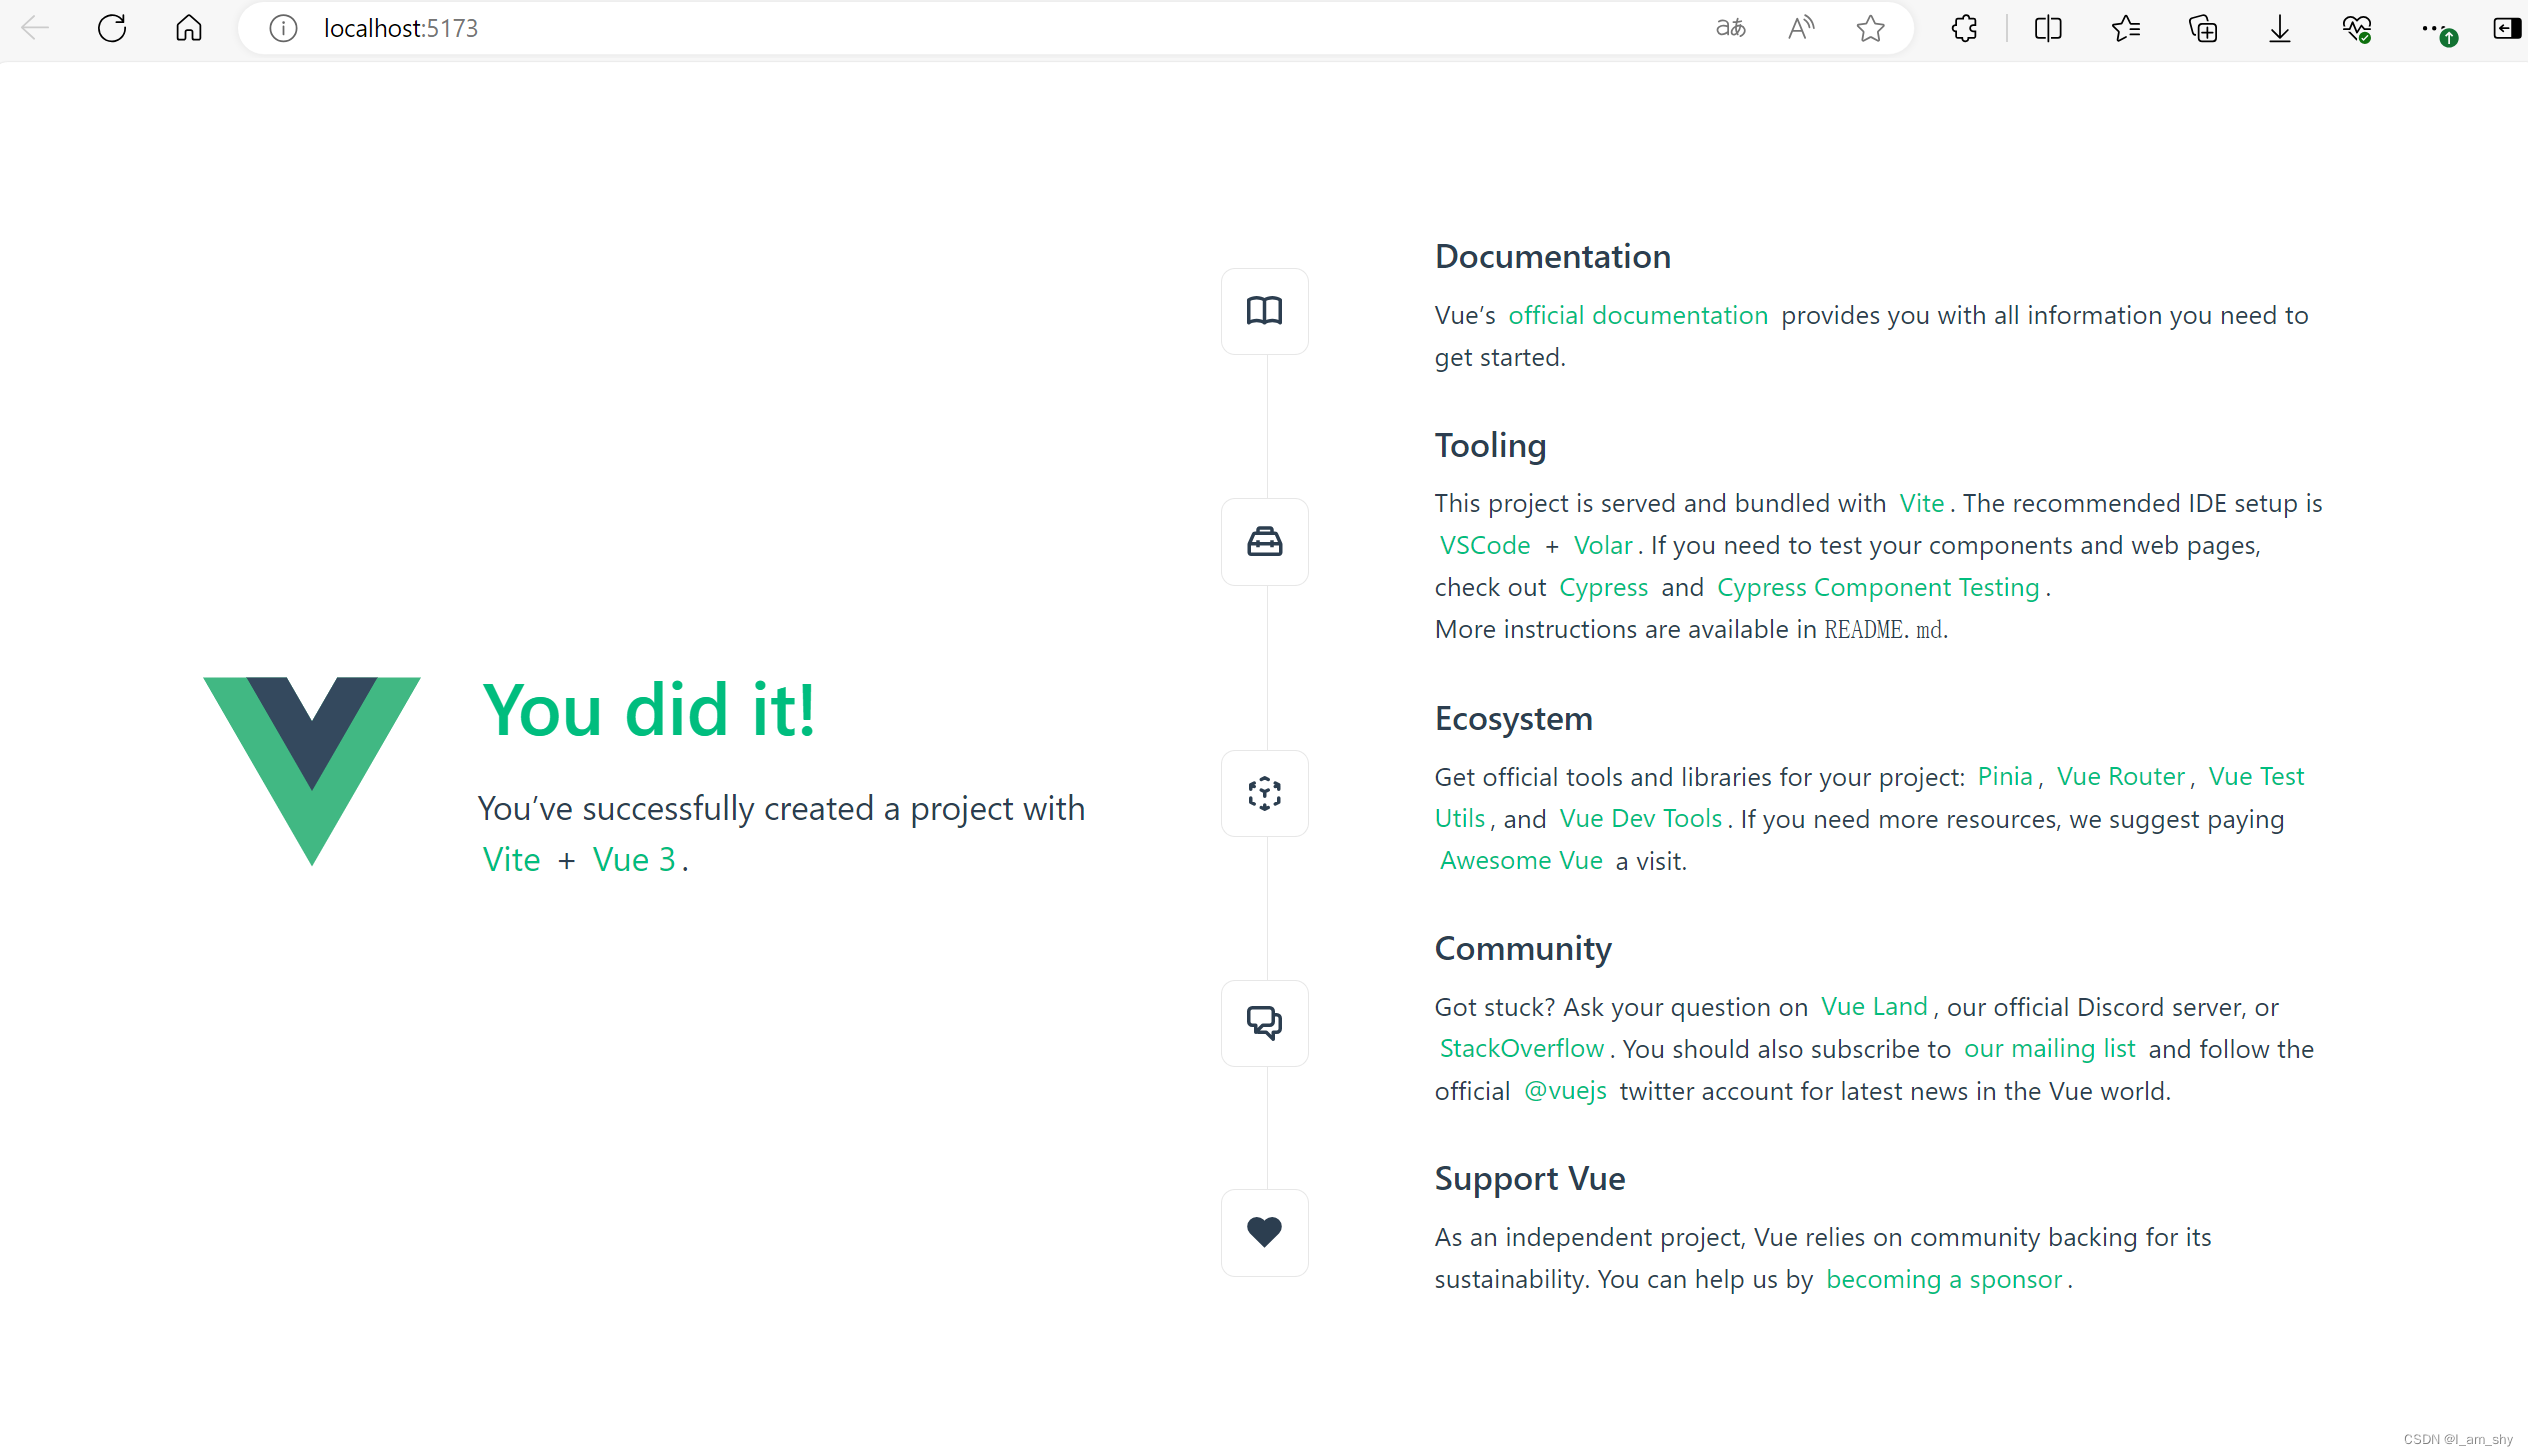
成功启动了一个vue项目,接下面我们开始配置路由
配置路由
首先我们在src目录下新建两个文件夹,router和view

然后分别在这两个目录下创建几个新文件
安装vue-router包
npm install vue-router --save
安装完成后可以在package.json中查看
成功安装后我们再配置views下的home.vue,about.vue和router下的index.js
home.vue:
<script setup>//组合式API
import { ref,reactive,onMounted } from 'vue';

</script>

<template>
<p>home</p>
</template>

<style scoped>
/* 当 <style> 标签带有 scoped attribute 的时候,它的 CSS 只会影响当前组件的元素 */

</style>
about.vue:
<script setup>//组合式API
import { ref,reactive,onMounted } from 'vue';

</script>

<template>
<p>about</p>
</template>

<style scoped>
/* 当 <style> 标签带有 scoped attribute 的时候,它的 CSS 只会影响当前组件的元素 */

</style>
index.js:
import { createRouter,createWebHashHistory } from "vue-router";
import home from "../views/home.vue";
const routes = [
{
path:"/", //路径描述
name:"home",
component: home // 主动引用,无论是否访问均加载页面
},
{
path:"/about",
name:"about",
component: ()=> import("../views/about.vue")// 异步加载的路由的组件位置,只有页面被访问才加载
}
]
const router = createRouter({
history:createWebHashHistory(), // 跳转方式
routes :routes // 路由配置
})
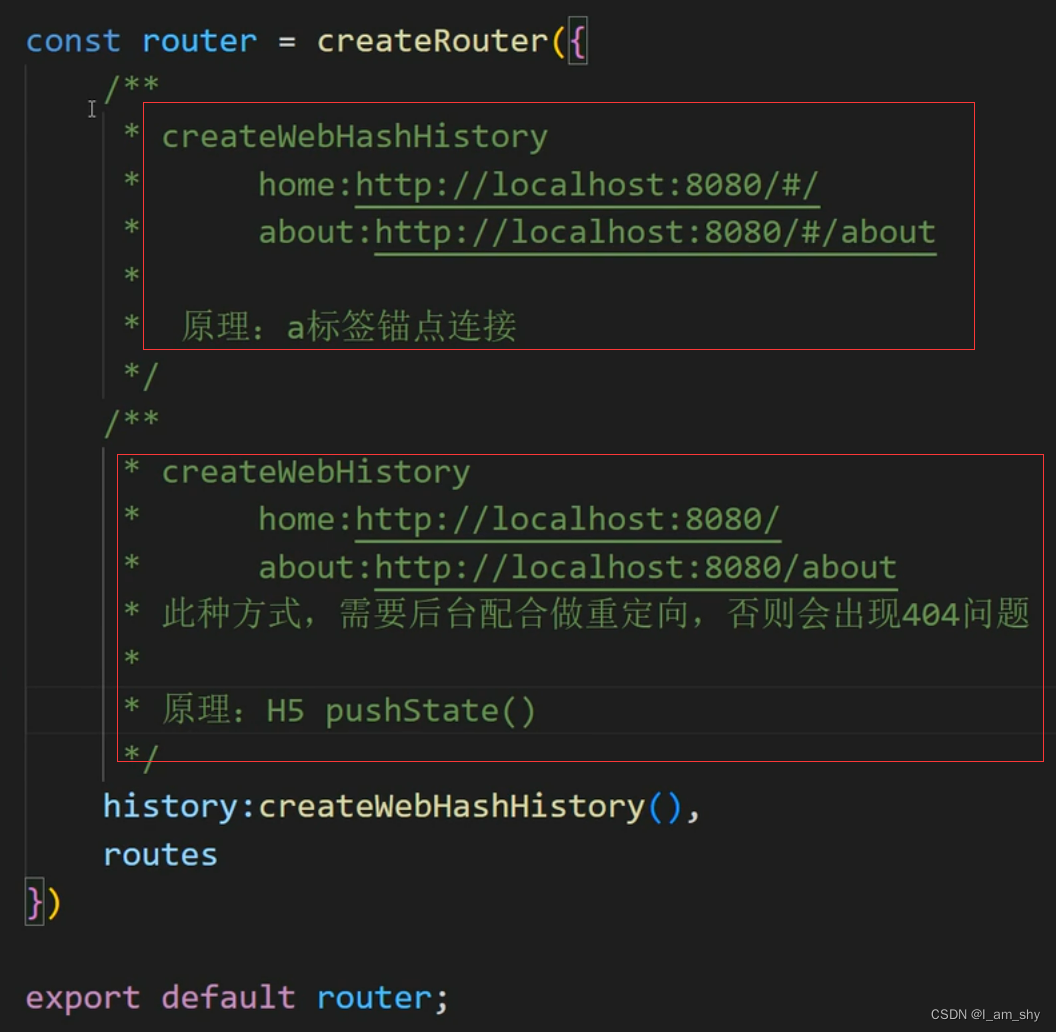
export default router这要注意index.js中的 routes,这里是配置了页面的跳转路径和路径,同时设置了页面的加载方式,component异步的加载方式可以优化主页面的加载(通常我们选择主页直接加载页面,而其他页面选择异步加载),而跳转方式我们尽量使用createWebHashHistory()方法
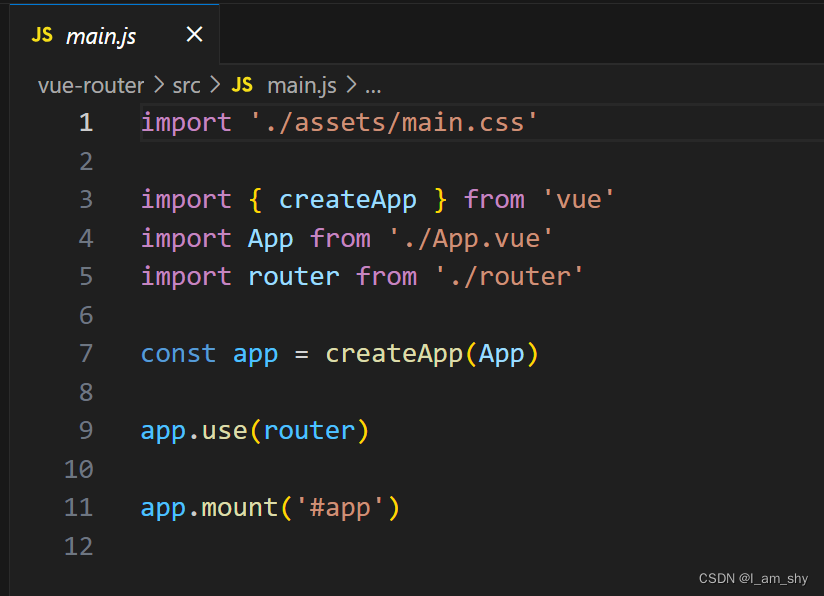
配置好路由页面和路由后,我们将它从入口文件(main.js,app.vue)导入进项目,
main.js:
import './assets/main.css'

import { createApp } from 'vue'
import App from './App.vue'
import router from './router/index';

createApp(App).use(router).mount('#app');
app.vue:
<script setup>
import {RouterLink,RouterView} from "vue-router"
</script>

<template>
  <header>
    <img alt="Vue logo" class="logo" src="./assets/logo.svg" width="125" height="125" />
  </header>

  <main>
    <router-link to="/">home</router-link>
    <router-link to="/about">about</router-link>
    <router-view></router-view>
  </main>
</template>

<style scoped>
header {
  line-height: 1.5;
}

.logo {
  display: block;
  margin: 0 auto 2rem;
}

@media (min-width: 1024px) {
  header {
    display: flex;
    place-items: center;
    padding-right: calc(var(--section-gap) / 2);
  }

  .logo {
    margin: 0 2rem 0 0;
  }

  header .wrapper {
    display: flex;
    place-items: flex-start;
    flex-wrap: wrap;
  }
}
</style>
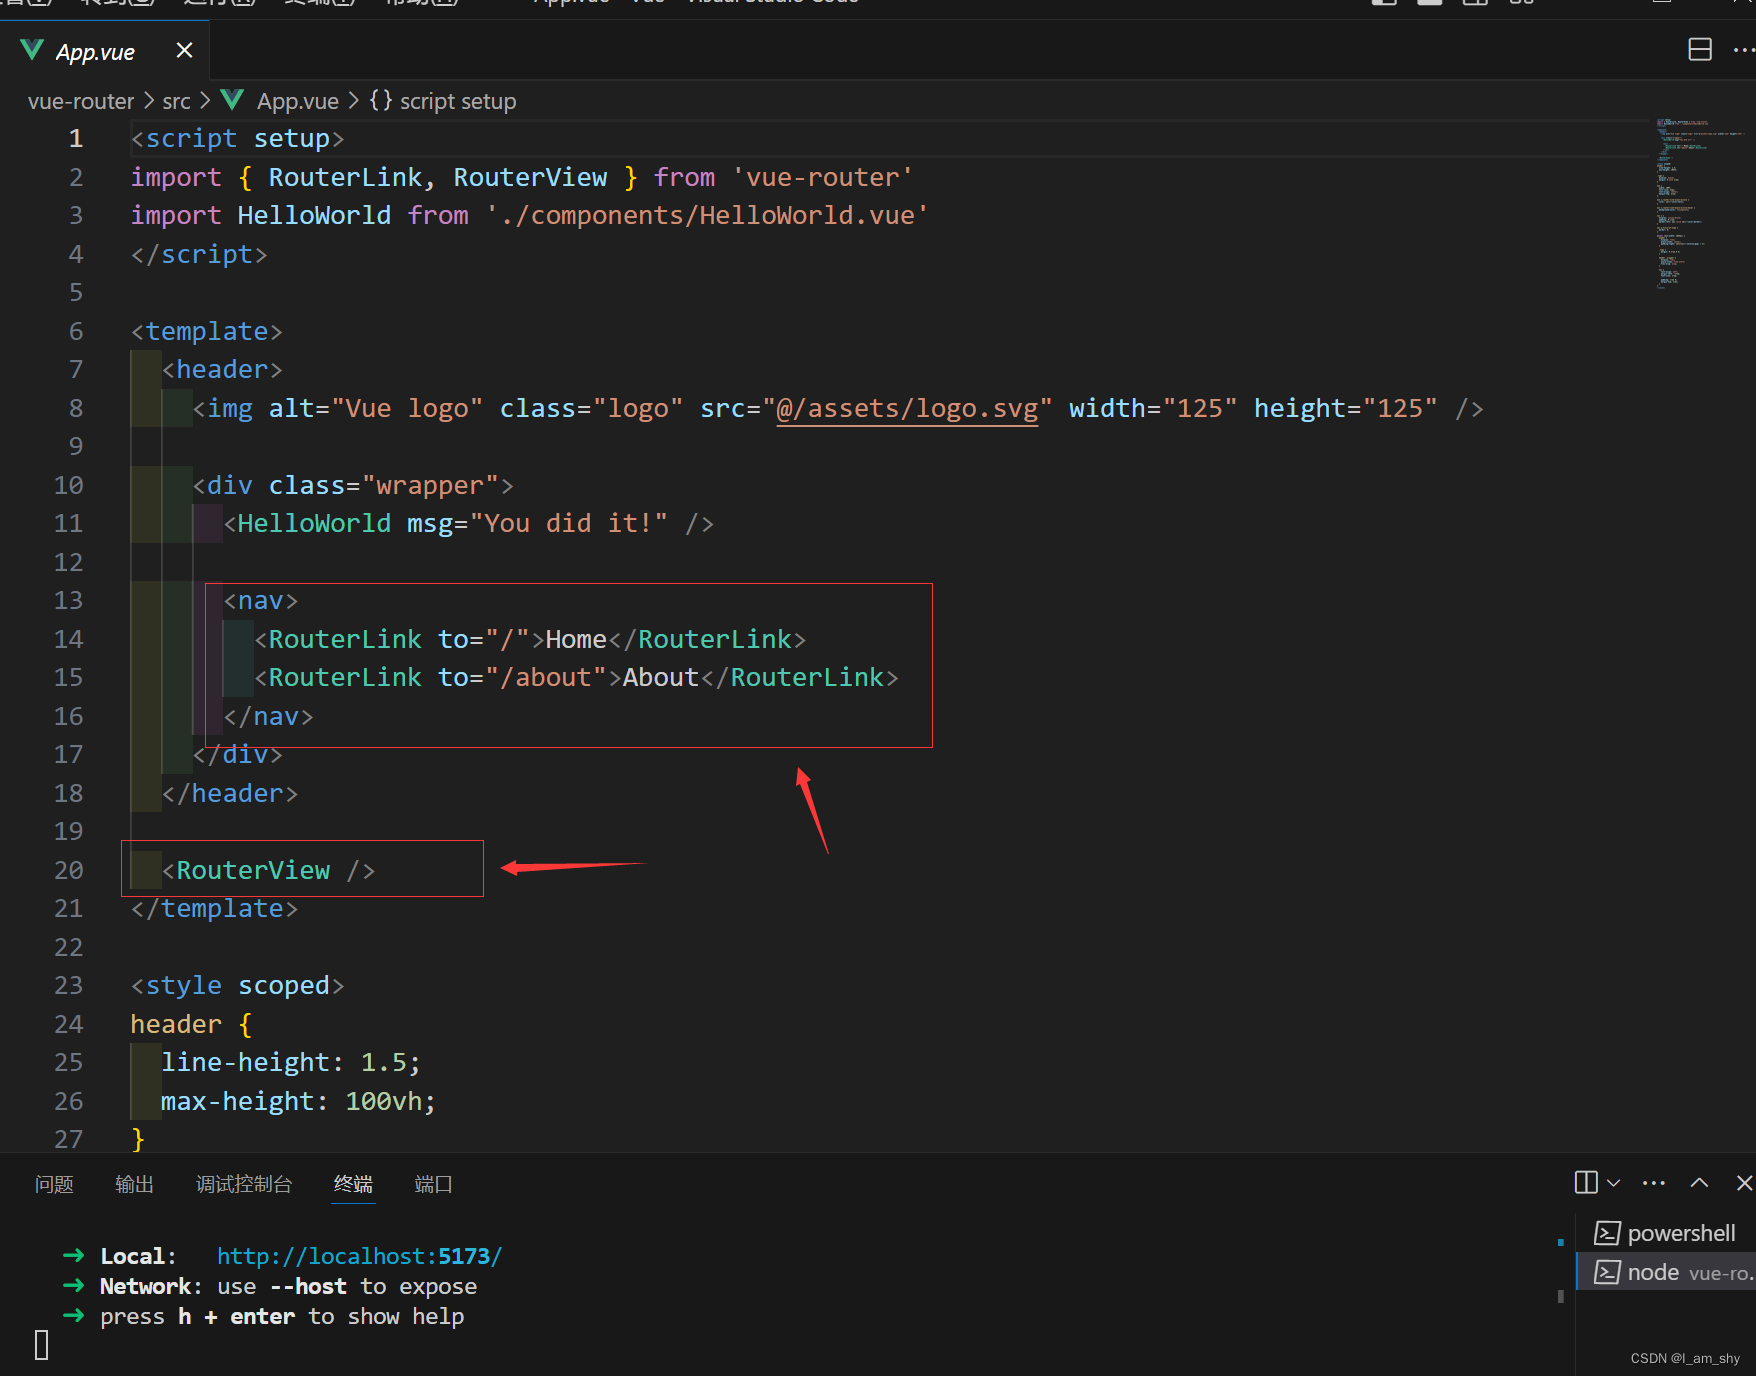
在app.vue中router-link的作用是导航跳转,通过to属性跳转页面,to的值为index.js中的routes的path跳转路径,router-view的作用是展示页面,跳转的页面在这个标签内展示
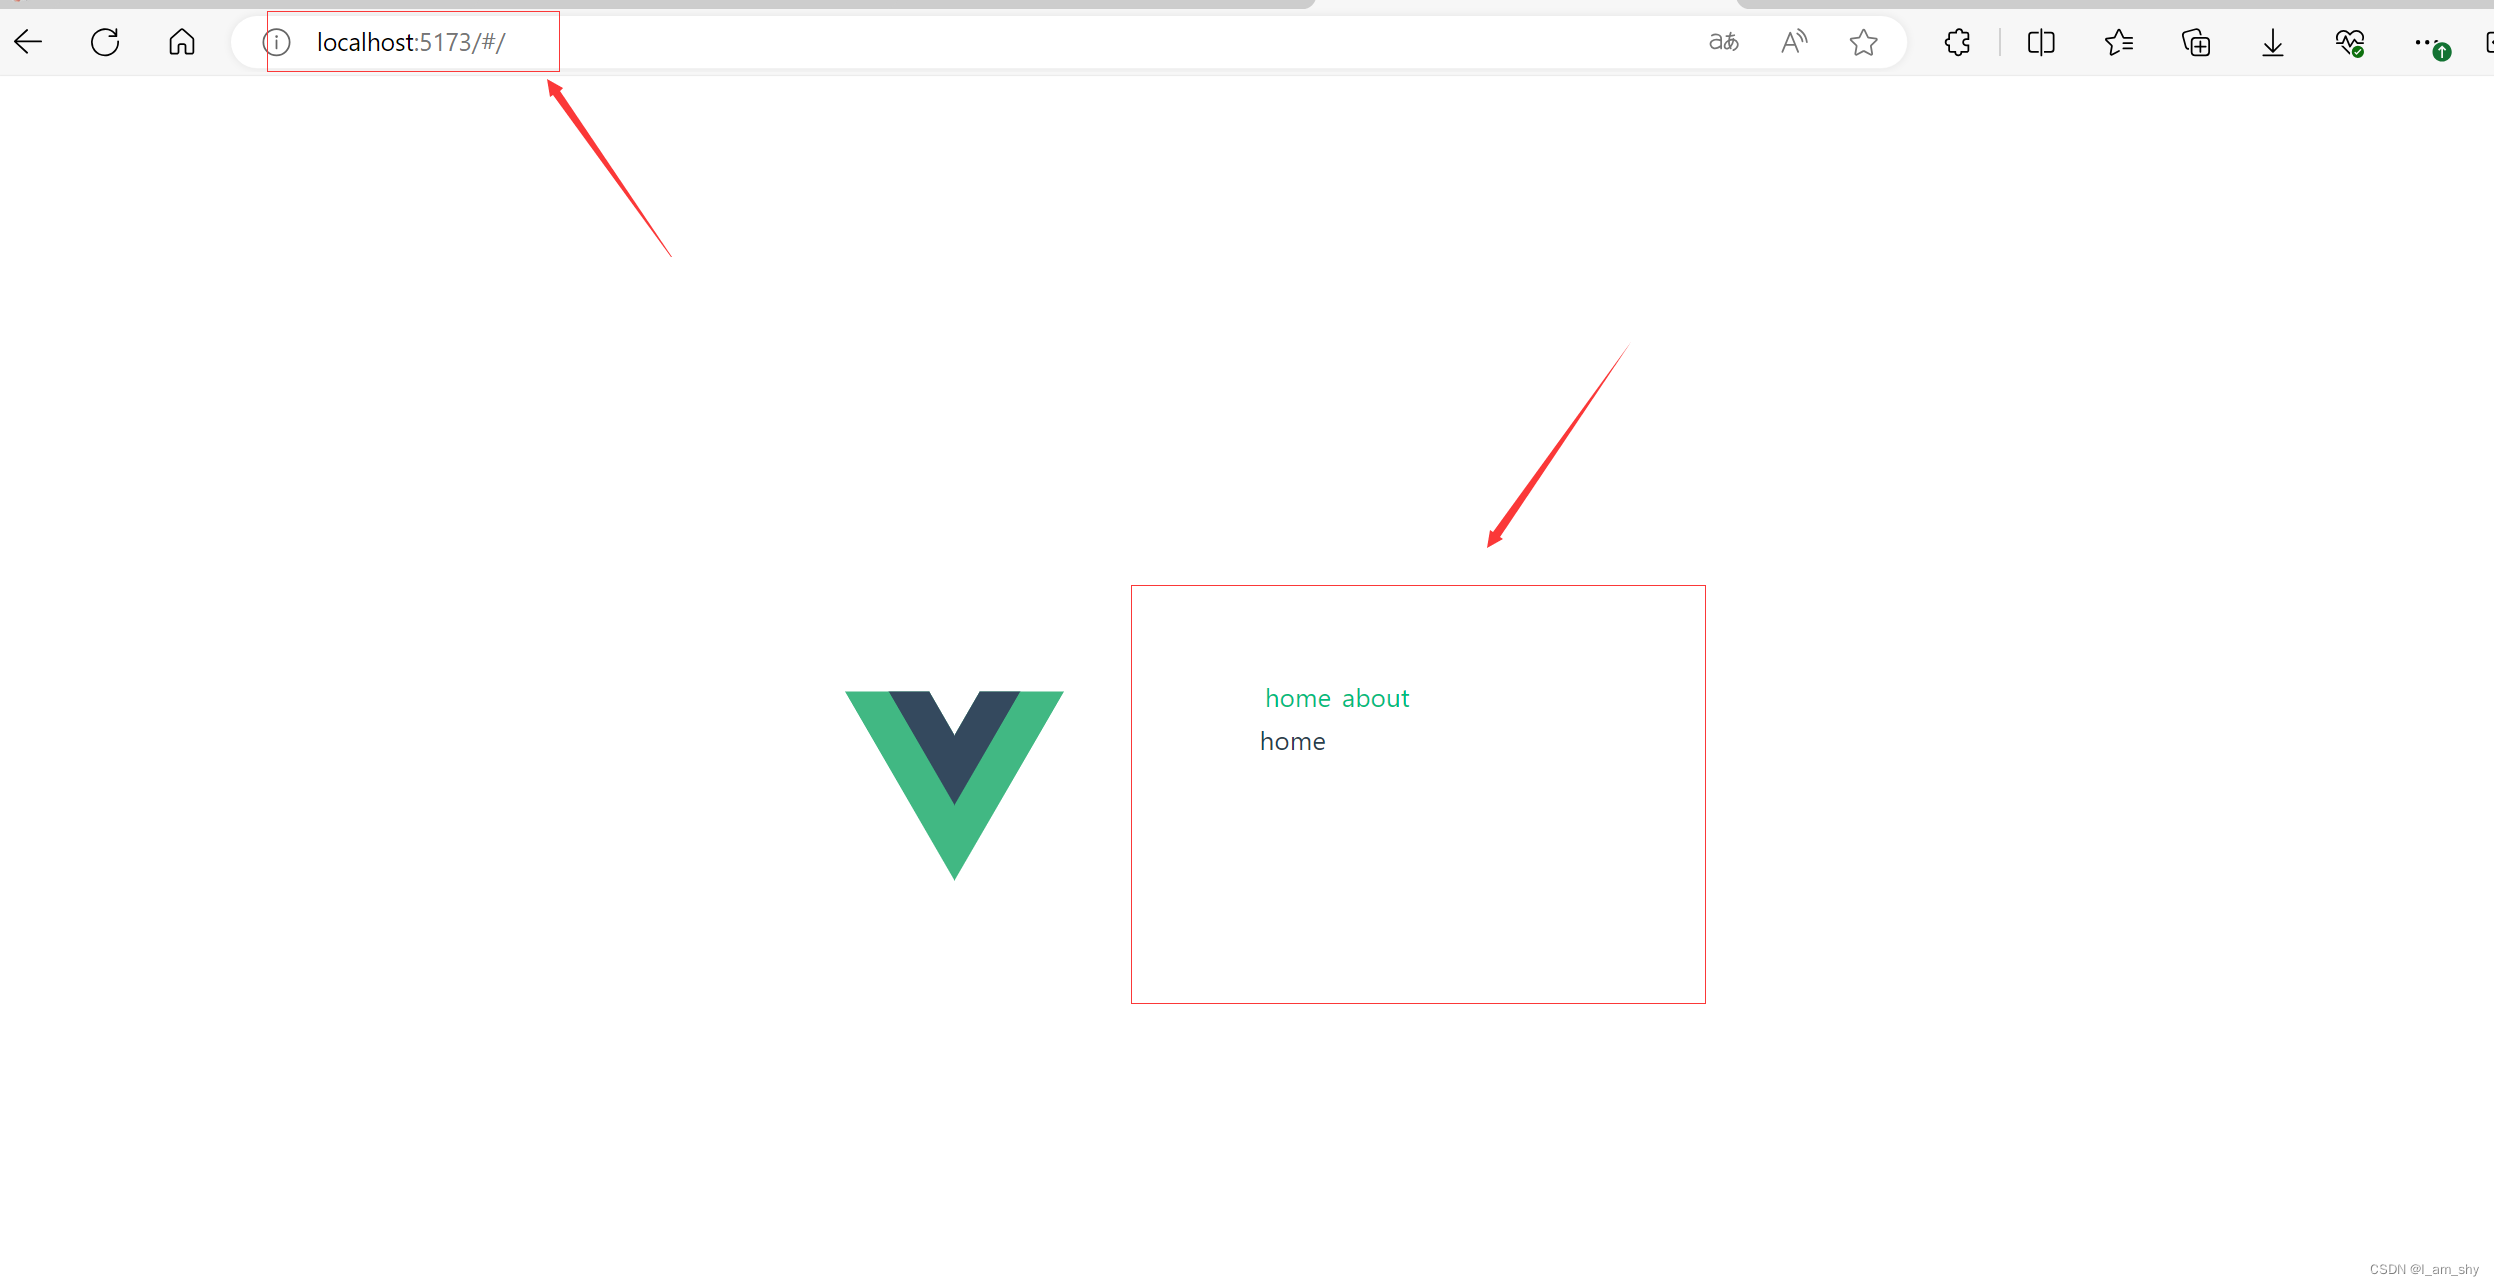

可以看到实现了基本的单页面跳转
路由传参
页面直接跳转还可以传递参数,在实际应用中,我们可以通过不同的参数在同一个网页展示不同的信息
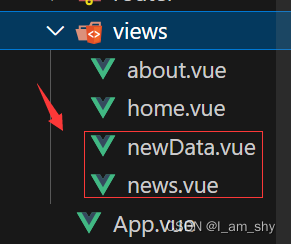
我们下view下新建两个文件 news.vue , newData.vue
news.vue:
<script setup>//组合式API
import { ref,reactive,onMounted } from 'vue';

</script>

<template>
<p>news</p>
<ul>
    <li><router-link to="/newData/新闻1">new1</router-link></li>
    <li><router-link to="/newData/新闻2">new2</router-link></li>
    <li><router-link to="/newData/新闻3">new3</router-link></li>
</ul>
</template>

<style scoped>
/* 当 <style> 标签带有 scoped attribute 的时候,它的 CSS 只会影响当前组件的元素 */

</style>
newData.vue:
<script setup>//组合式API
import { ref,reactive,onMounted } from 'vue';

</script>

<template>
<p>这里展示的是{{ $route.params.key }}</p>
</template>

<style scoped>
/* 当 <style> 标签带有 scoped attribute 的时候,它的 CSS 只会影响当前组件的元素 */

</style>
然后再配置index.js:
import { createRouter,createWebHashHistory} from 'vue-router'
import home from '../views/home.vue'
const routes = [
    {
        path:'/',
        name:'home',
        component: home
    },
    {
        path:'/about',
        name:'about',
        component: ()=> import('../views/about.vue')
    },
    {
        path:'/news',
        name:'news',//路由的名称
        component: ()=> import('../views/news.vue')
    },
    {
        path:"/newData/:key",
        name:"newData",
        component: ()=> import('../views/newData.vue')
    }
]
const router = createRouter({
    history:createWebHashHistory(),
    routes:routes
})
export default router;这里要注意 news.vue中的跳转标签属性to除了指向newData.vue之外,还带有一个参数,这个参数在index.js中用:key来表示,在newData.vue中通过$route.params.key获取(这里的key就是:key,可以自行定义)

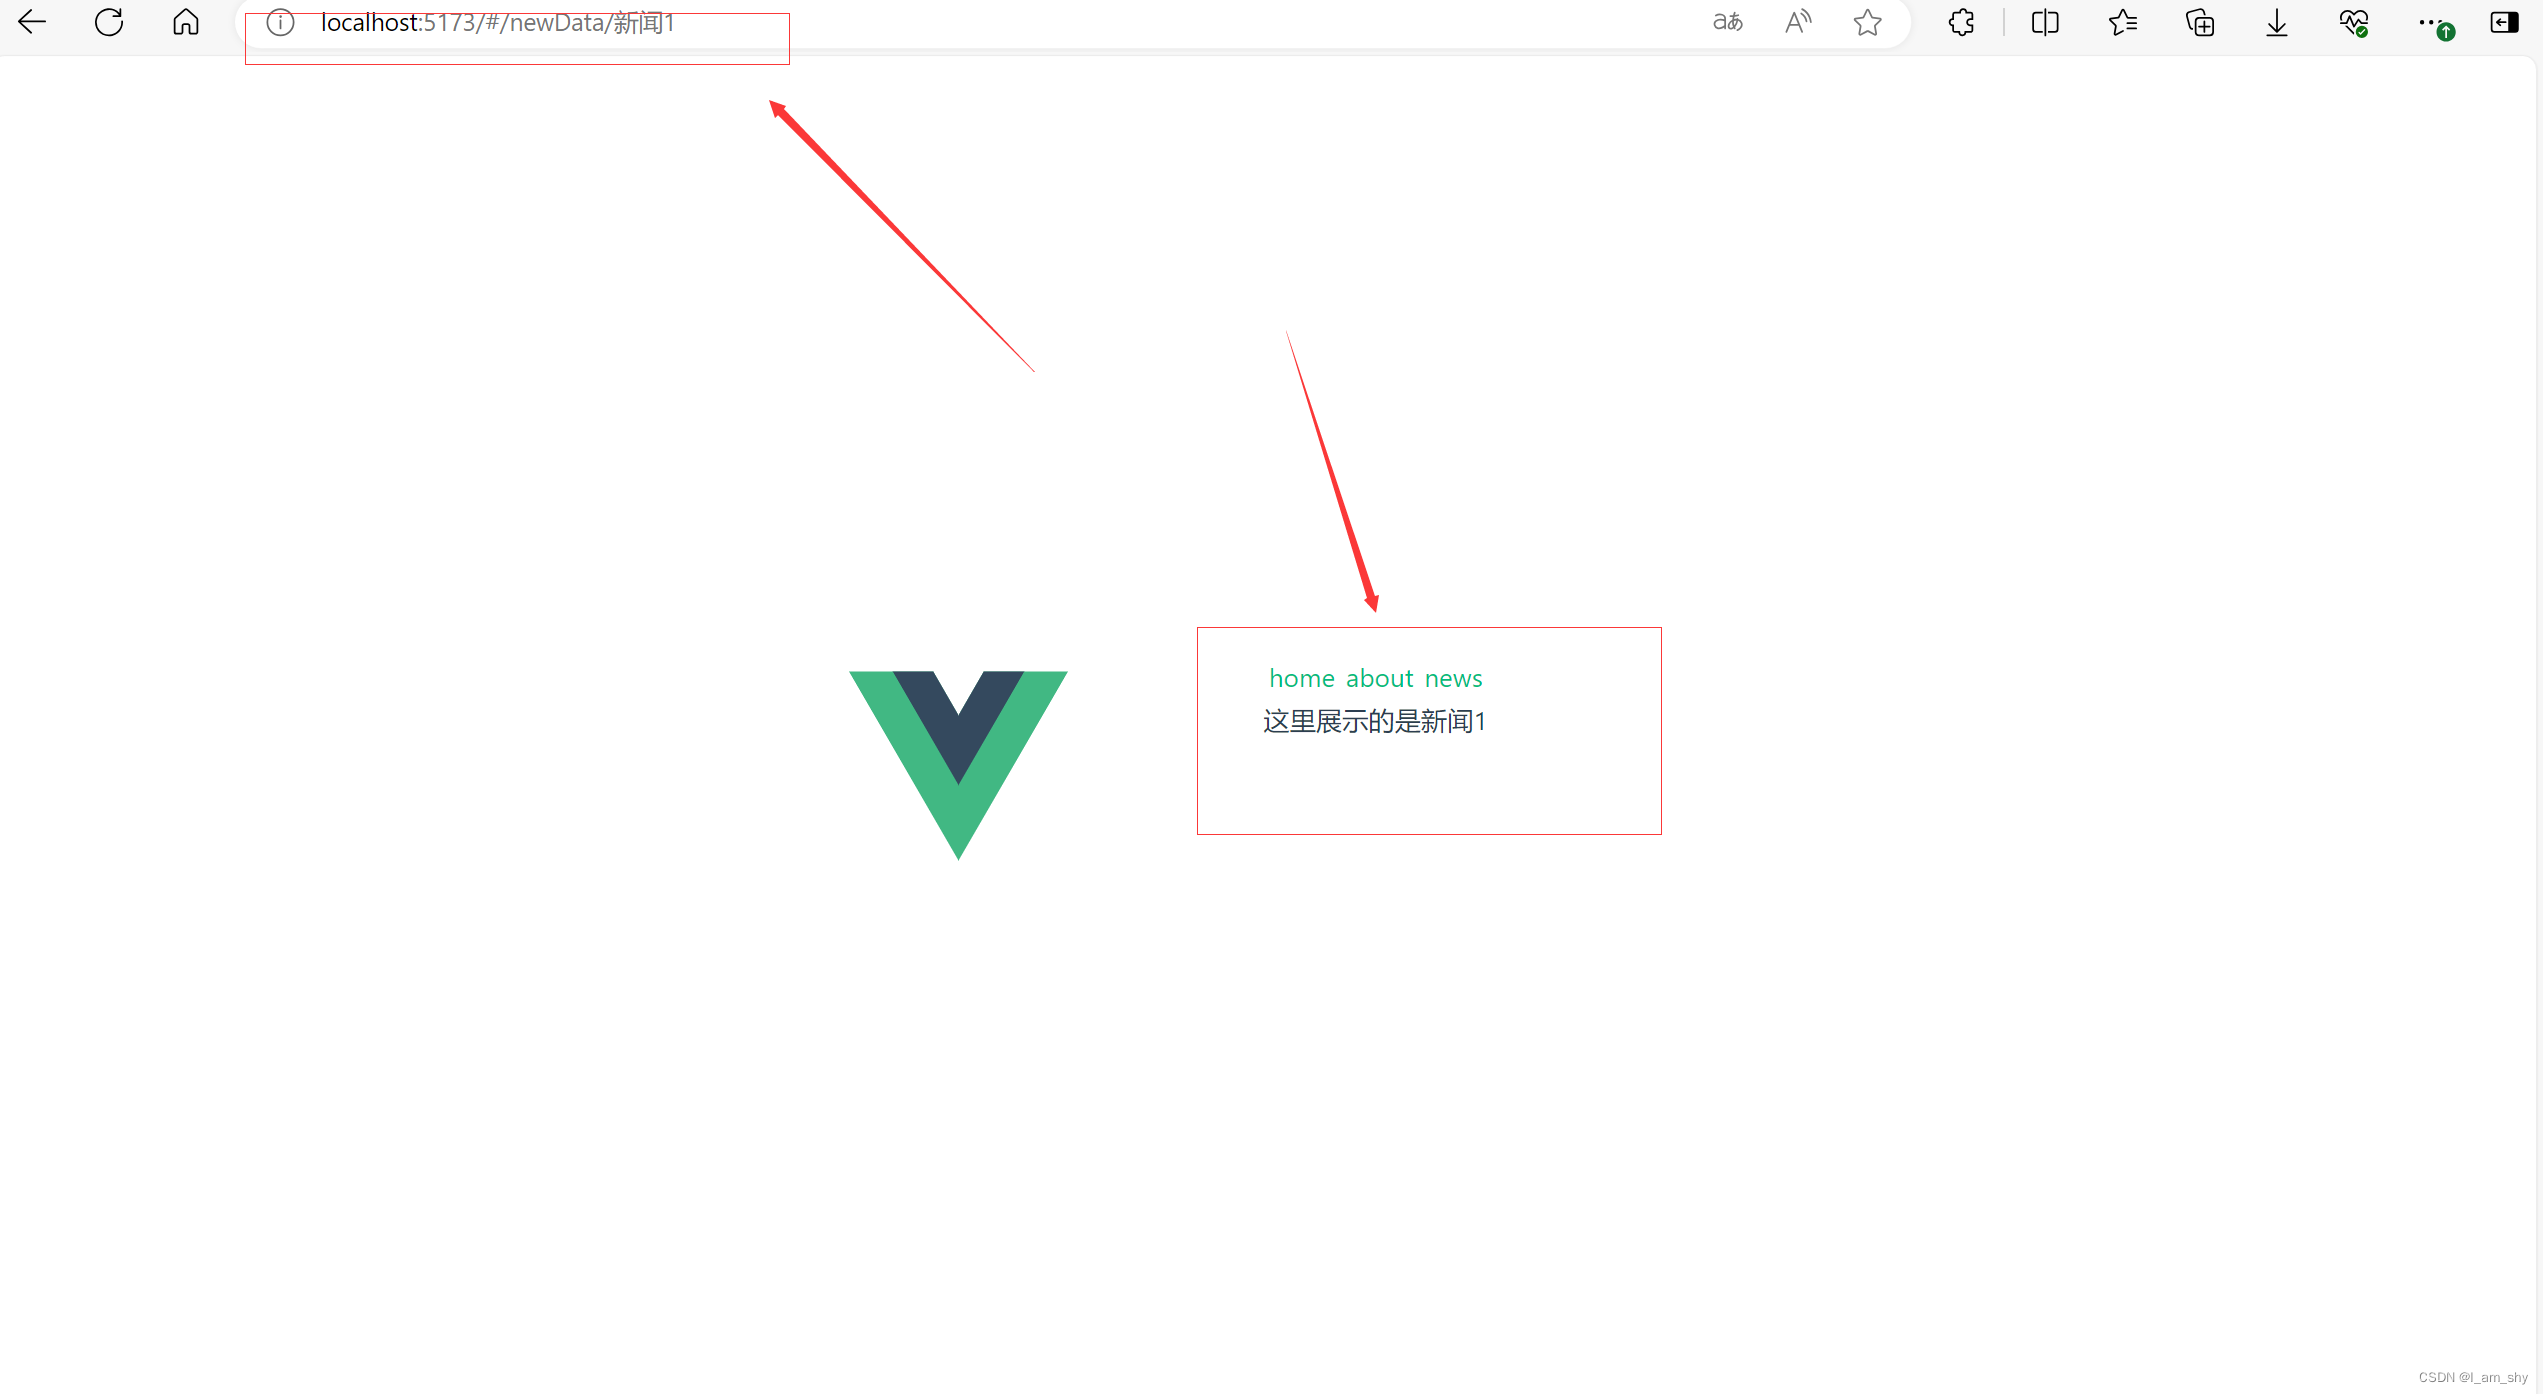

这样我们就成功实现了页面跳转时传递参数
嵌套路由
除了传递参数能向下访问页面,还有另一种方式也可以向下访问页面,也就是二级导航(会保留导航)
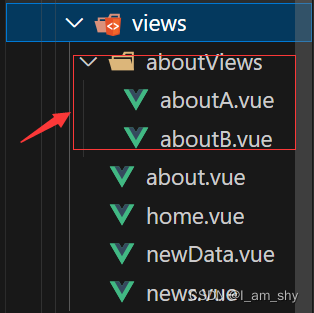
我们在view文件夹下新建一个文件夹aboutViews,并在aboutViews文件夹下新建aboutA.vue和aboutB.vue
aboutA.vue:
<script setup>//组合式API
import { ref,reactive,onMounted } from 'vue';

</script>

<template>
<p>关于信息A</p>
</template>

<style scoped>
/* 当 <style> 标签带有 scoped attribute 的时候,它的 CSS 只会影响当前组件的元素 */

</style>
aboutB.vue:
<script setup>//组合式API
import { ref,reactive,onMounted } from 'vue';

</script>

<template>
<p>关于信息B</p>
</template>

<style scoped>
/* 当 <style> 标签带有 scoped attribute 的时候,它的 CSS 只会影响当前组件的元素 */

</style>
然后再修改about.vue和index.js
about.vue:
<script setup>//组合式API
import { ref,reactive,onMounted } from 'vue';

</script>

<template>
    <div>
        <router-link to="/about/A">A</router-link>
        <router-link to="/about/B">B</router-link>
        <router-view></router-view>
    </div>

</template>

<style scoped>
/* 当 <style> 标签带有 scoped attribute 的时候,它的 CSS 只会影响当前组件的元素 */

</style>
index.js:
import { createRouter,createWebHashHistory} from 'vue-router'
import home from '../views/home.vue'
const routes = [
    {
        path:'/',
        name:'home',
        component: home
    },
    {
        path:'/about',
        name:'about',
        component: ()=> import('../views/about.vue'),
        children:[
            {
                path: "A" ,//注意这里不加'/'
                component: ()=> import("../views/aboutViews/aboutA.vue"),
            },
            {
                path:'B',
                component: ()=> import('../views/aboutViews/aboutB.vue')
            }
        ]
    },
    {
        path:'/news',
        name:'news',//路由的名称
        component: ()=> import('../views/news.vue')
    },
    {
        path:"/newData/:key",
        name:"newData",
        component: ()=> import('../views/newData.vue')
    }
]
const router = createRouter({
    history:createWebHashHistory(),
    routes:routes
})
export default router;
在about.vue中添加router-link和router-view标签,并加上2级路径,然后在index.js的about的路由属性中添加children属性,在children属性绑定对应的2级路由

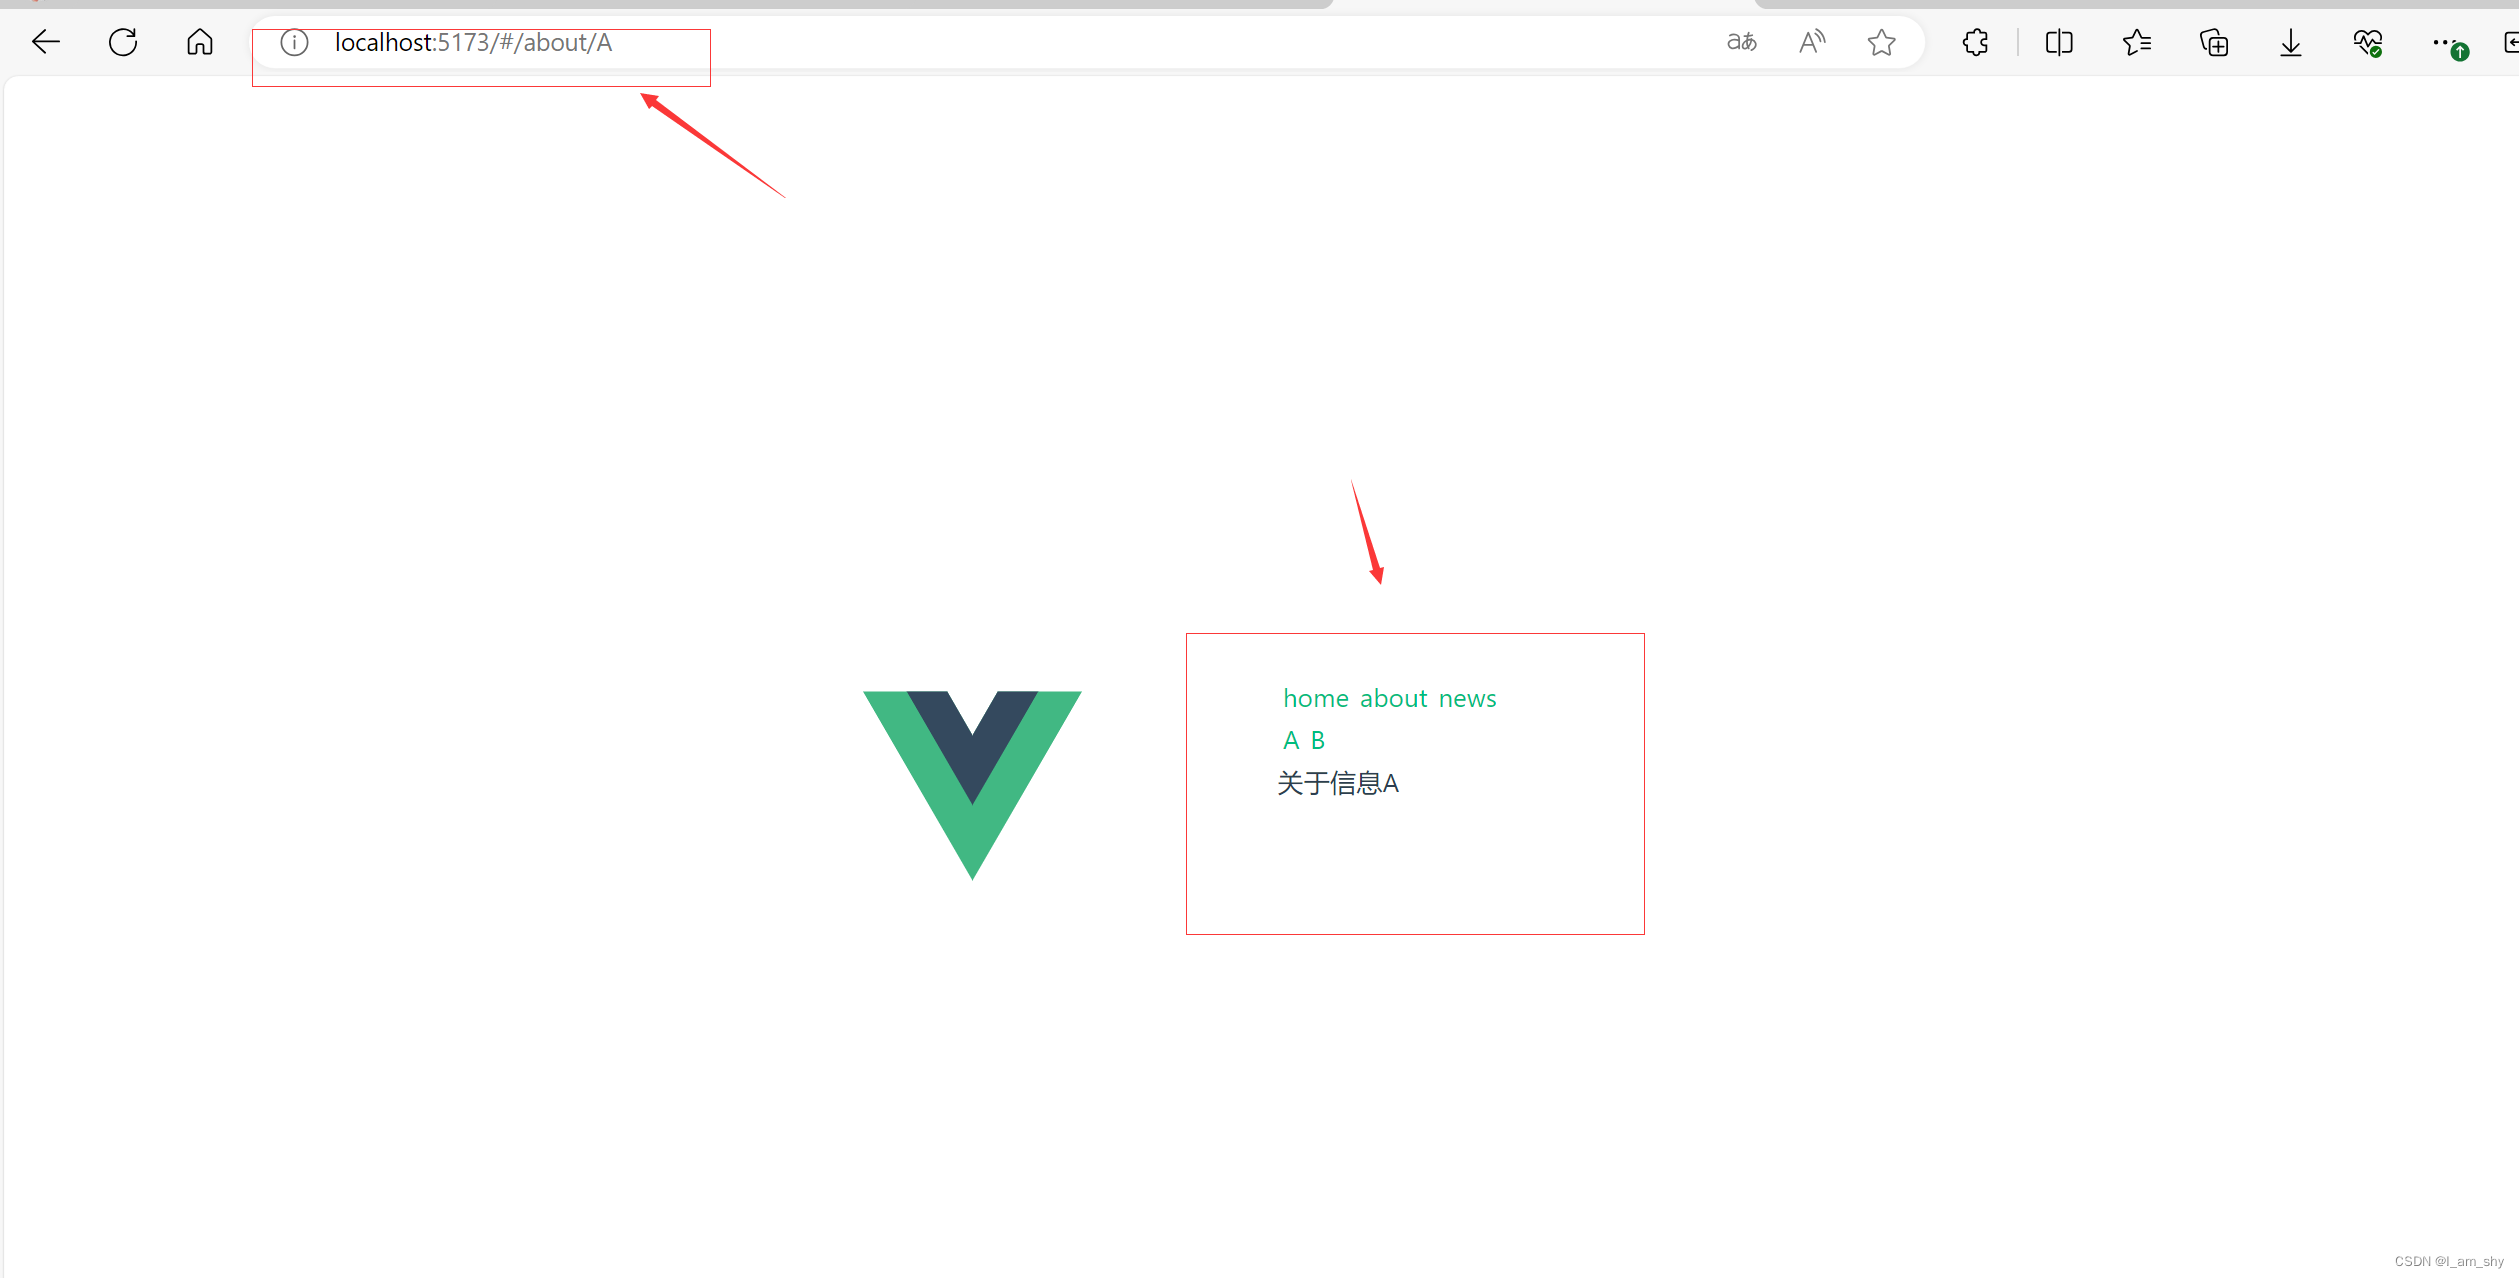

这里就成功实现了2级路由
到这里我们就成功的手动搭建路由,并实现了多种路由的方式
系统路由
完成了手动路由,我们可以参照对比一下系统路由的结构
重新新建一个项目
npm create vue@latest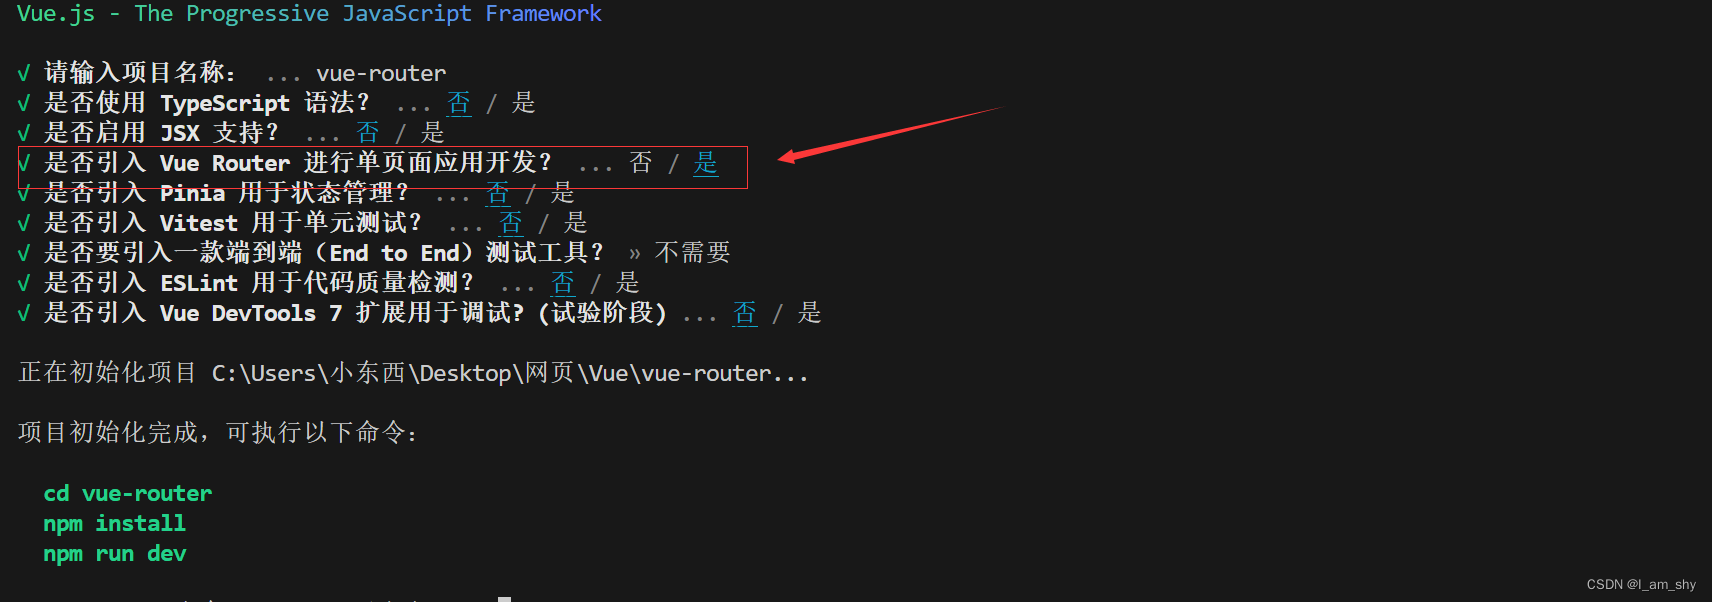
这里我们选择引入vue Router构建项目,其他的不变选择默认即可

我们进入目录可以看到在src下已经有router和views文件夹以及对应的文件,
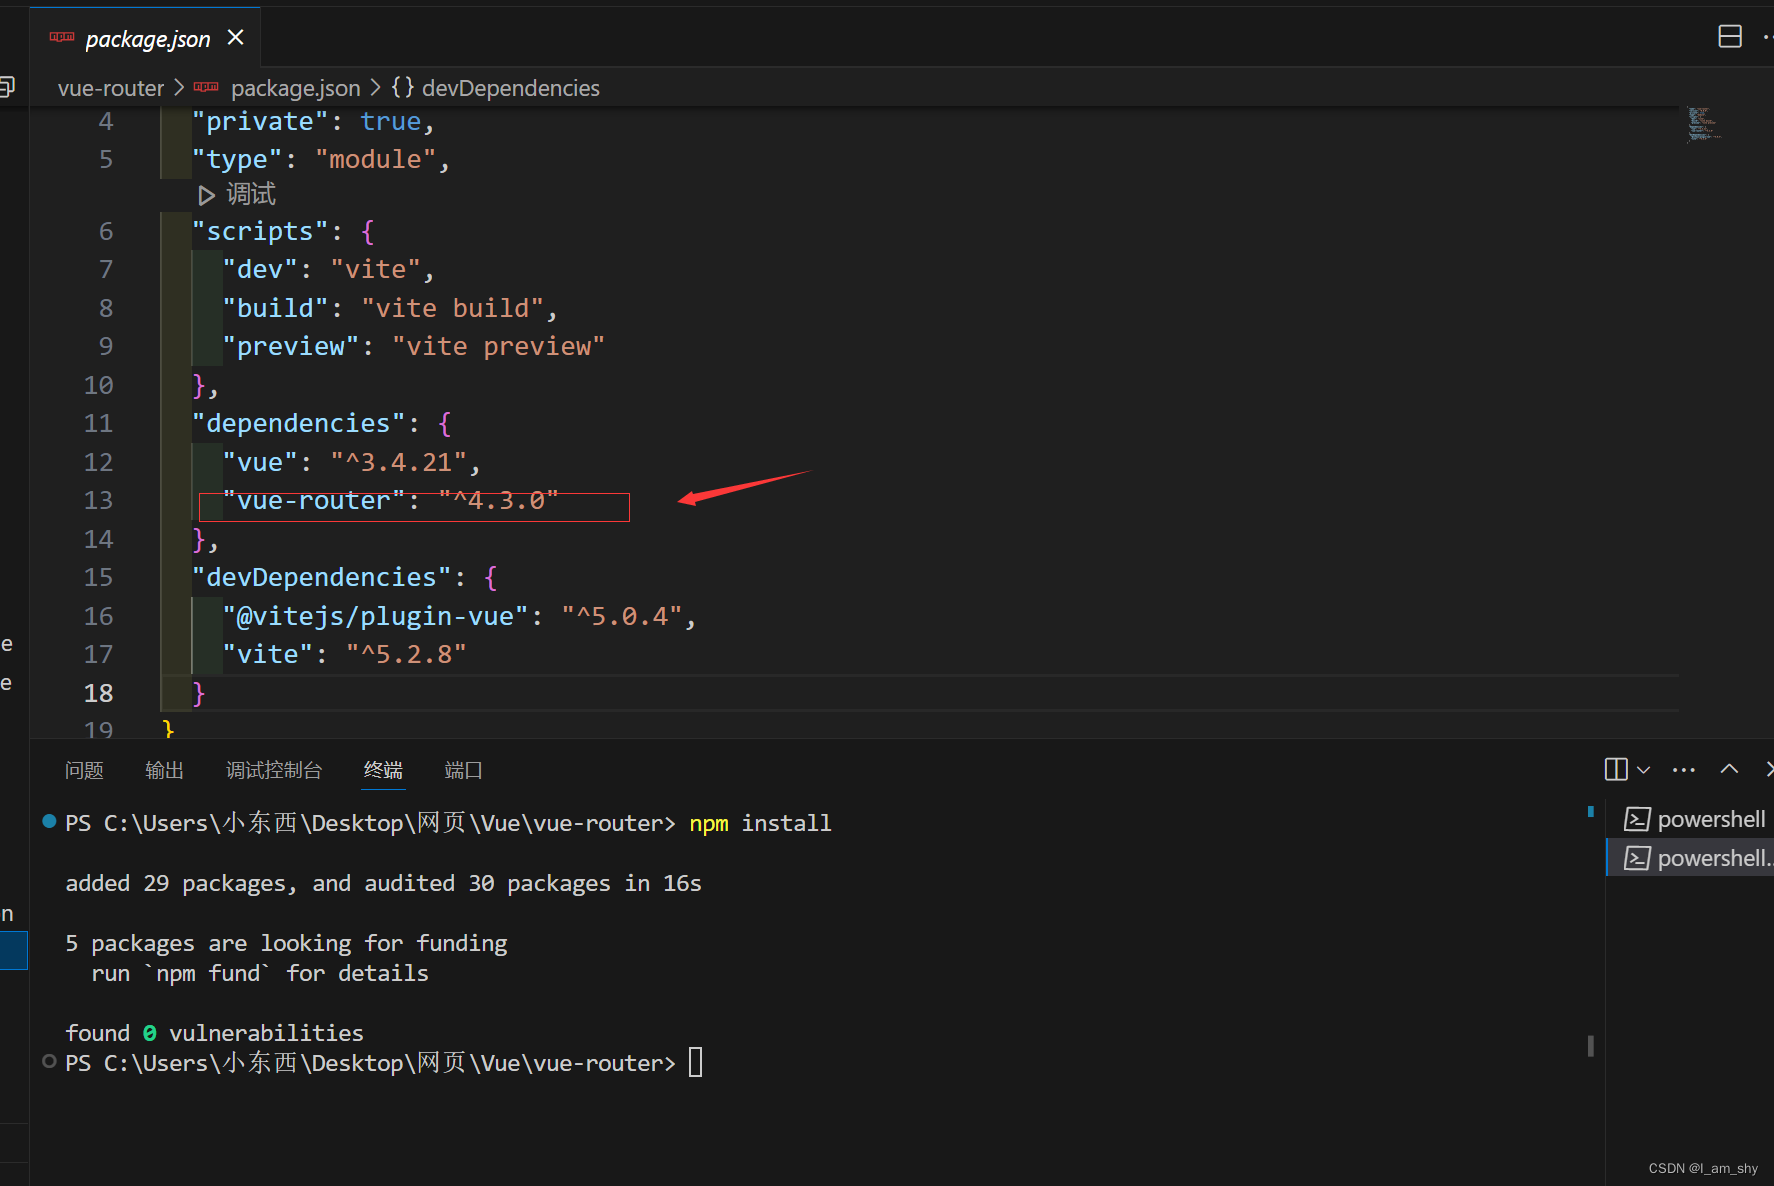
package.json文件中也有vue-router包
启动项目查看
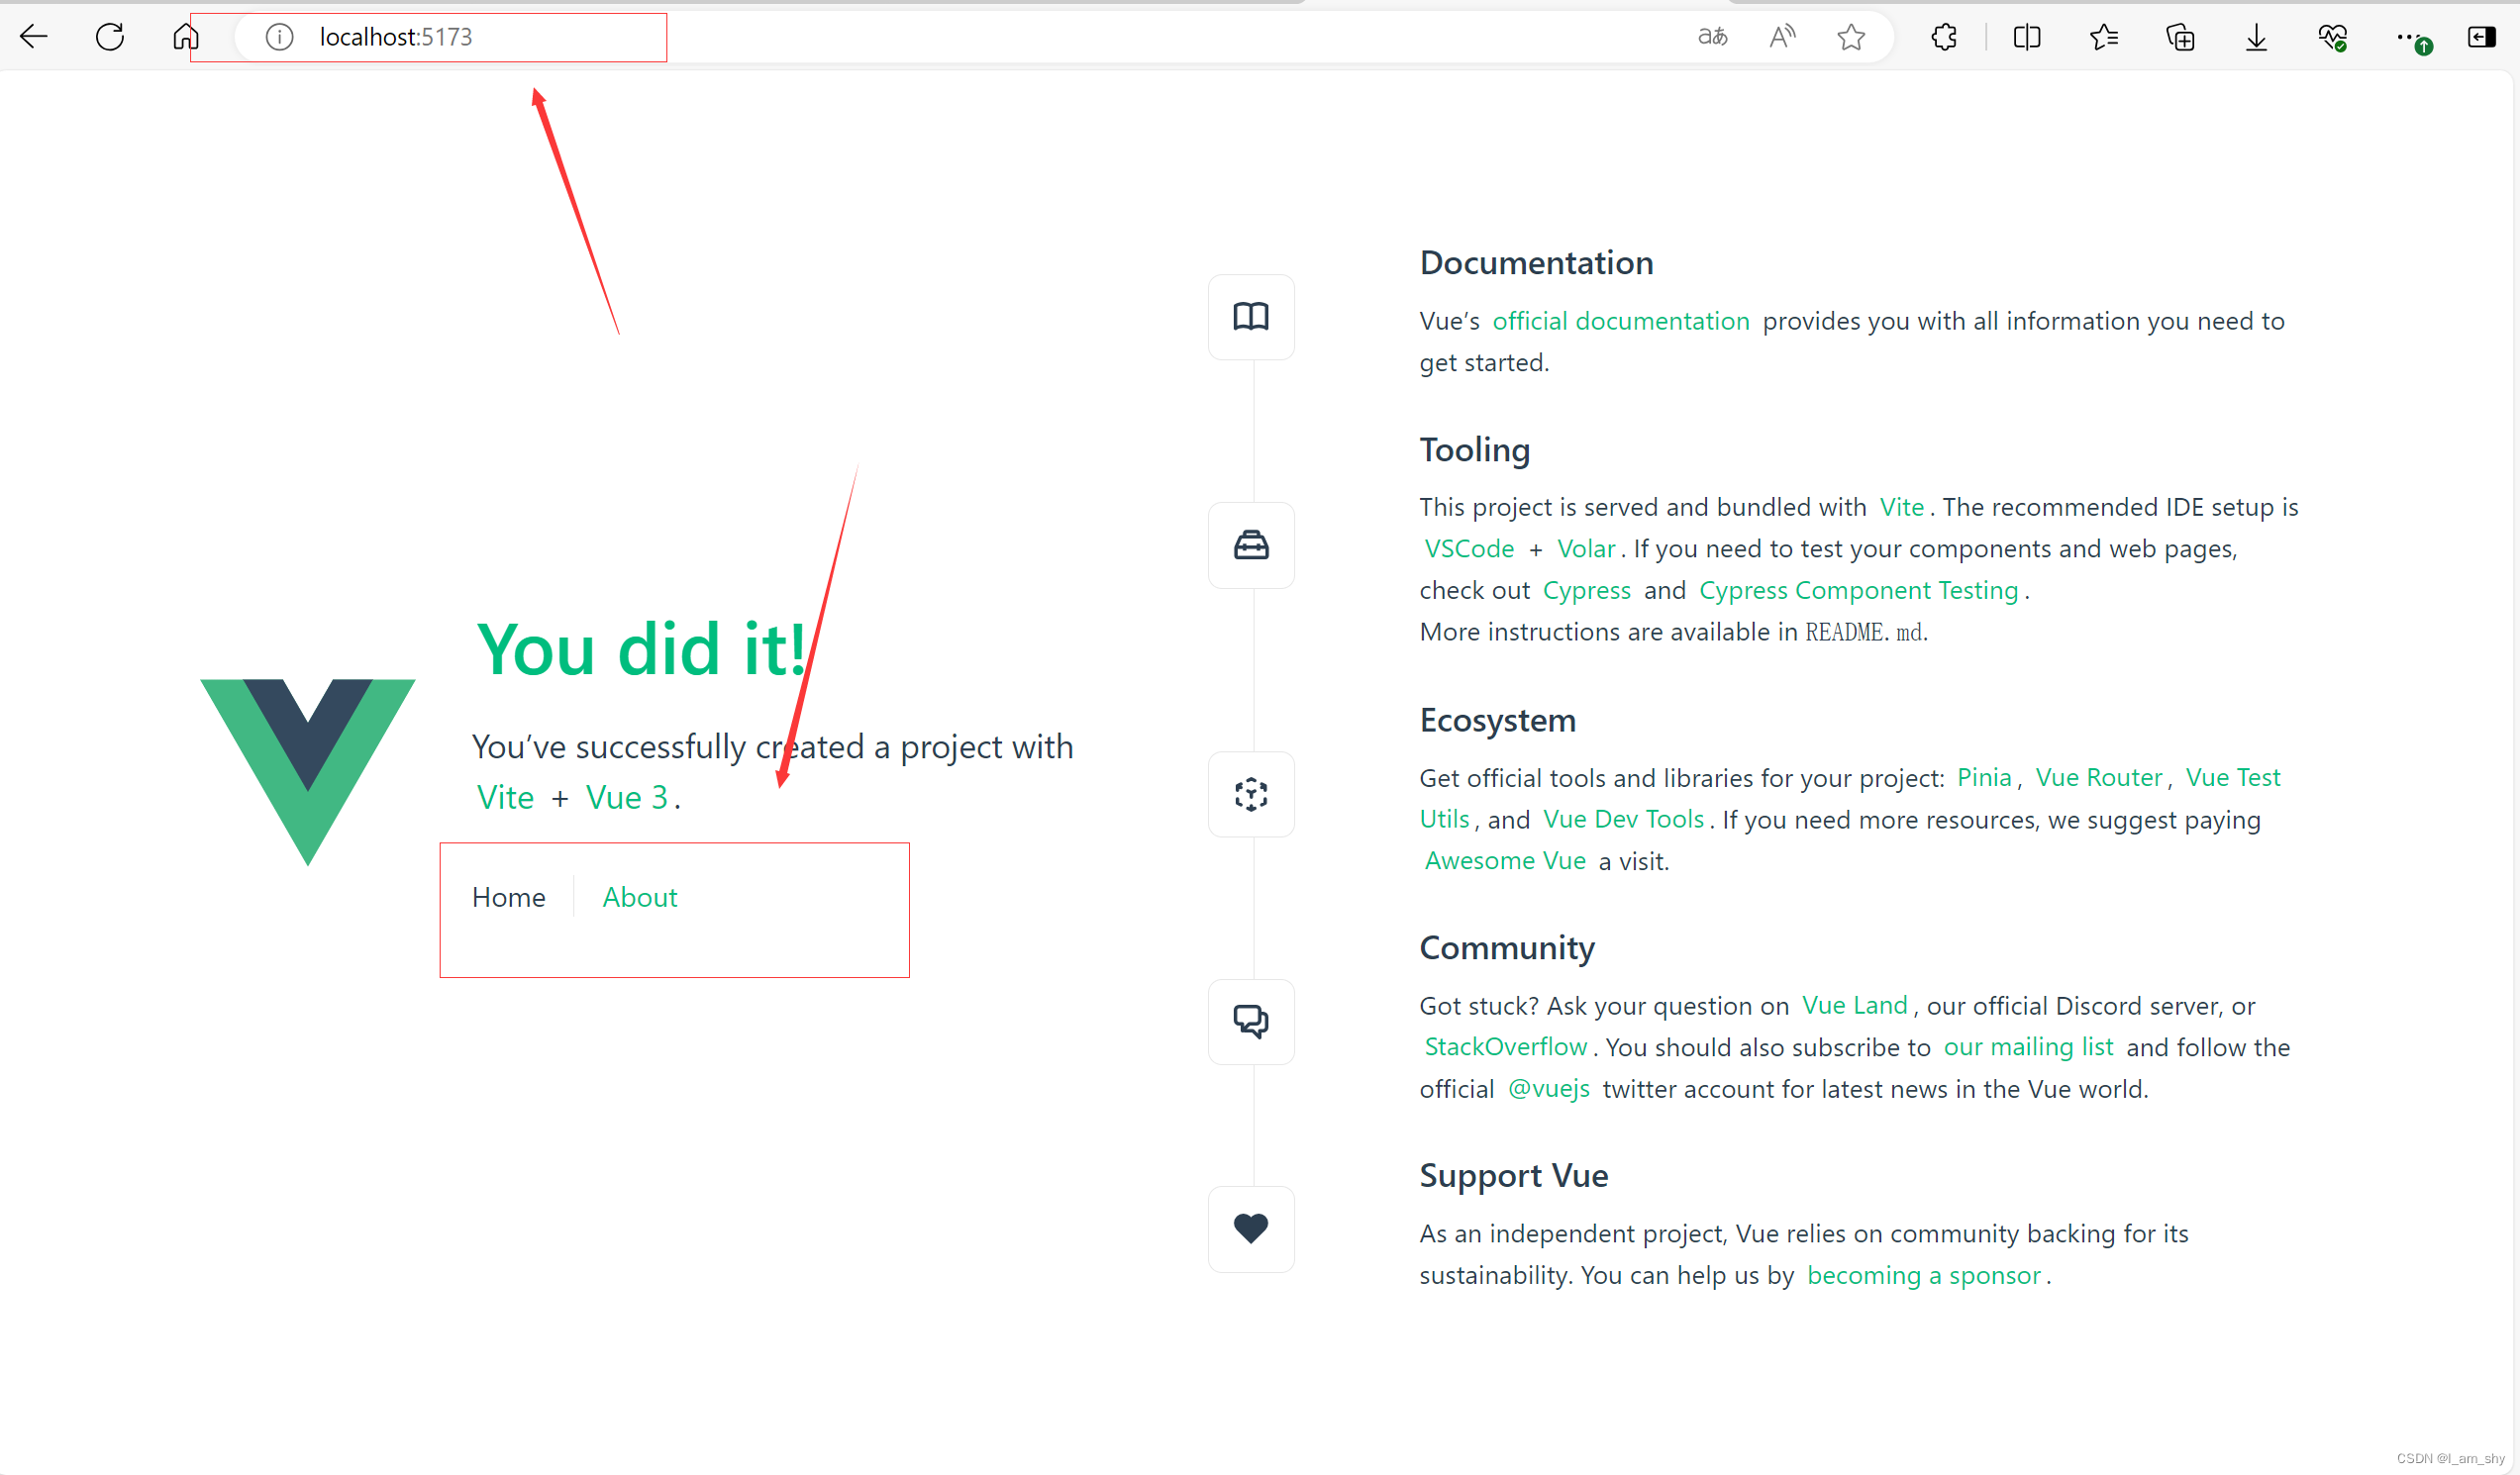
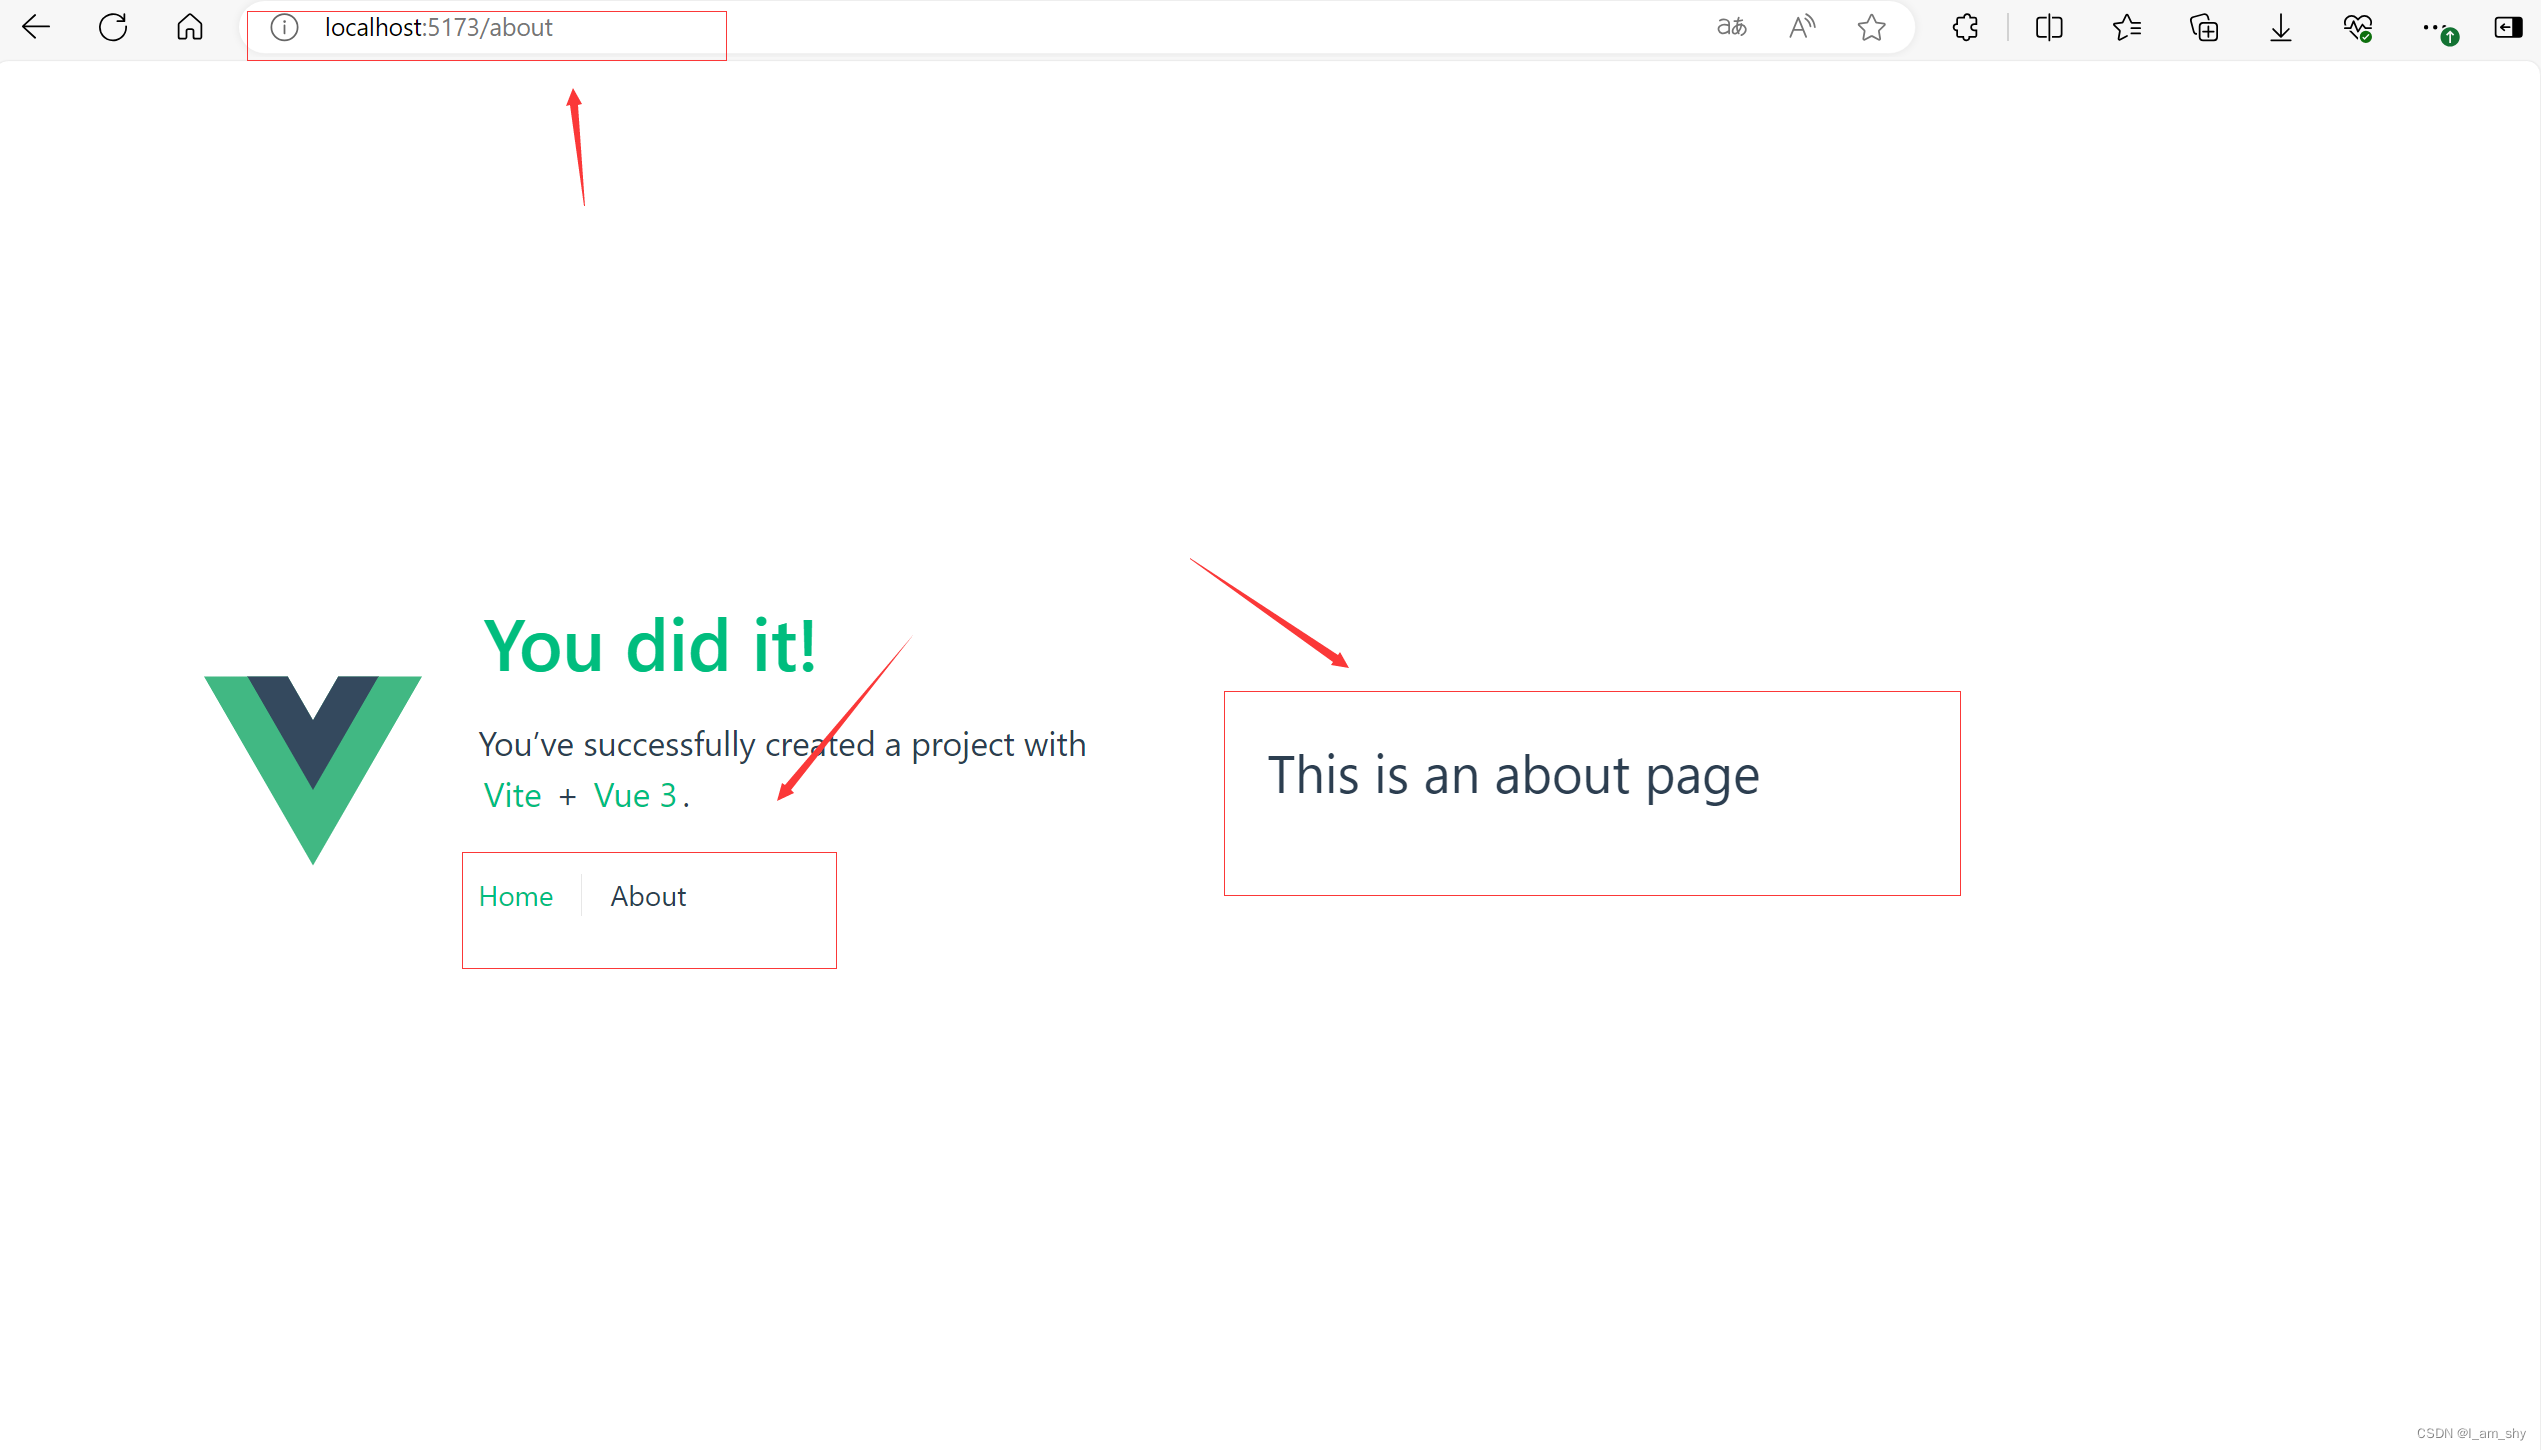
通过这个路由的url可以知道,系统路由默认是采用的createWebHistory()方法进行跳转
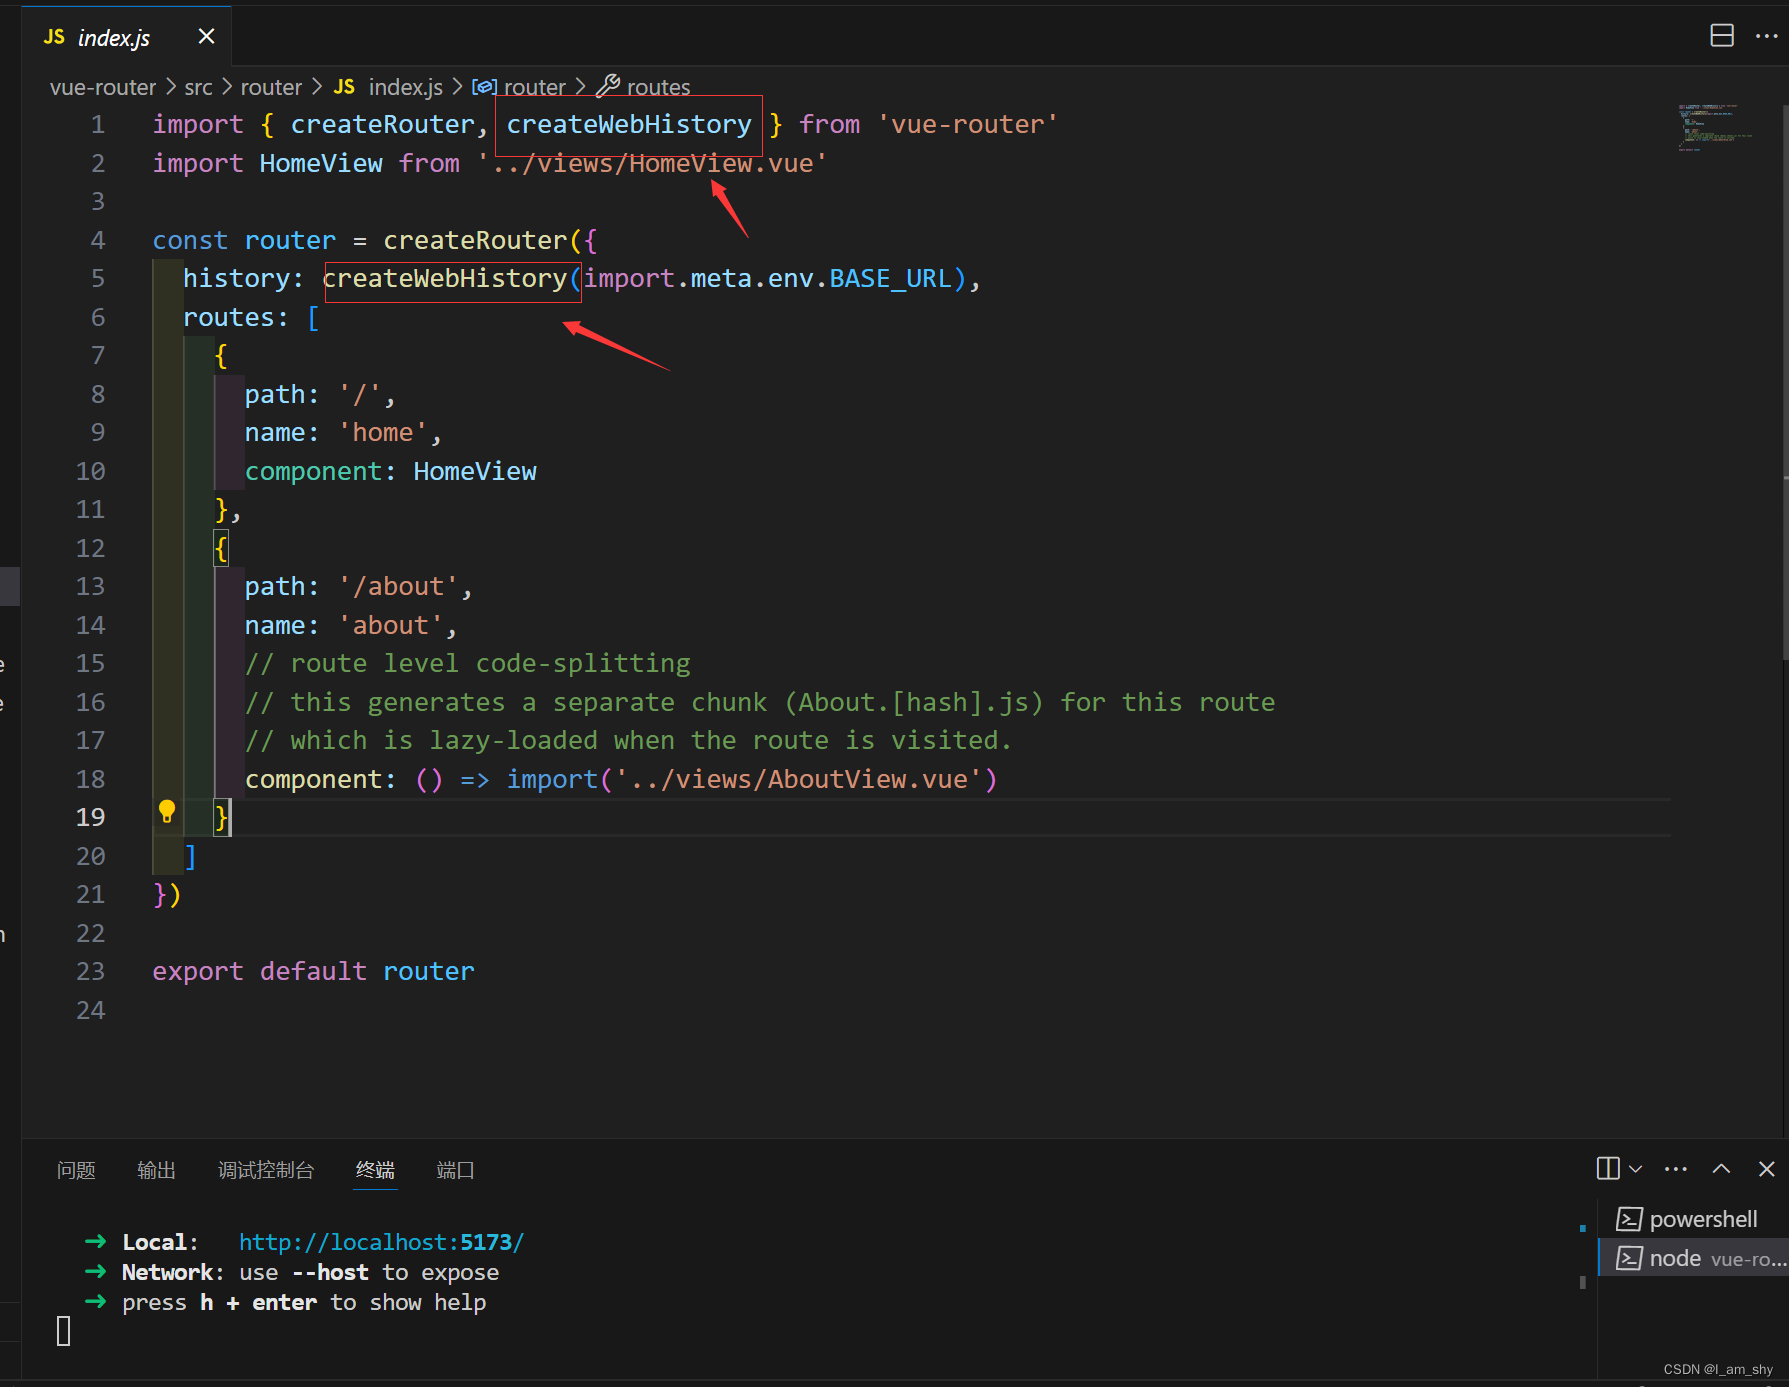
其他的基本格式都没有区别,了解了手动搭建路由后,在新项目中配置路由就可以使用系统路由并在此基础上进行一定的修改,这样可以很大程度的提高开发效率


![[AI OpenAI] 提取GPT-4中的概念](https://img-blog.csdnimg.cn/img_convert/55f7a4fe4abe2b66b0f1698f8b131147.gif)