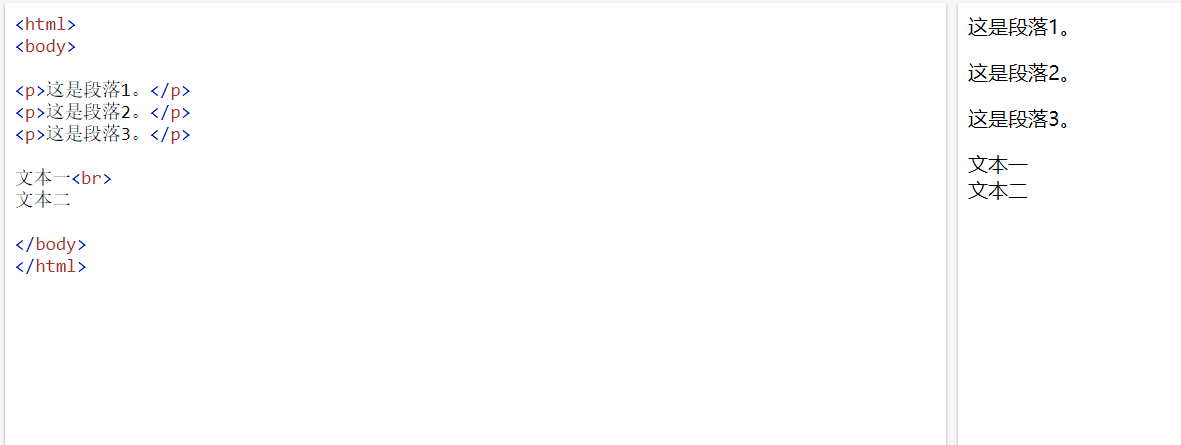
<br /> 标签在 HTML 页面中创换行符。
<hr /> 标签在 HTML 页面中创建水平线。
段落是通过 <p> 标签定义的。
浏览器会自动地在段落的前后添加空行。(<p> 是块级元素)
文本格式
<b>This text is bold</b>字体加粗
<strong>This text is strong</strong>强调文本
<big>This text is big</big>字体加大
<em>This text is emphasized</em>定义文字斜体
<i>This text is italic</i>定义文字斜体
<small>This text is small</small>缩小文本
<sub>subscript</sub>下标
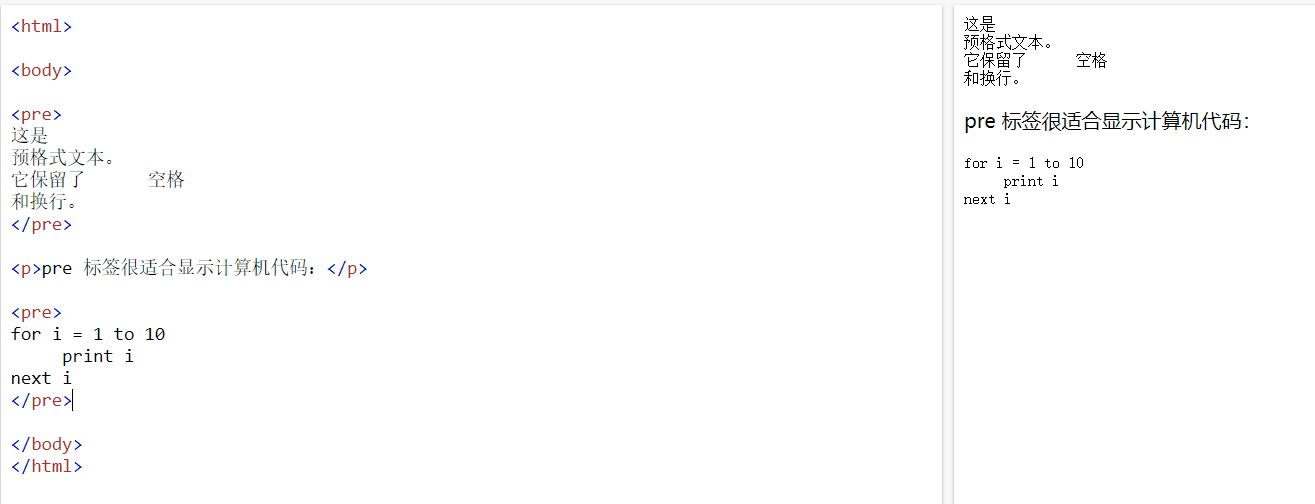
<sup>superscript</sup>上标<pre> </pre>预格式文本。
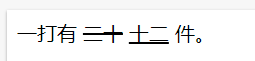
<del>二十</del> <ins>十二</ins> 删除文本和下划线文本
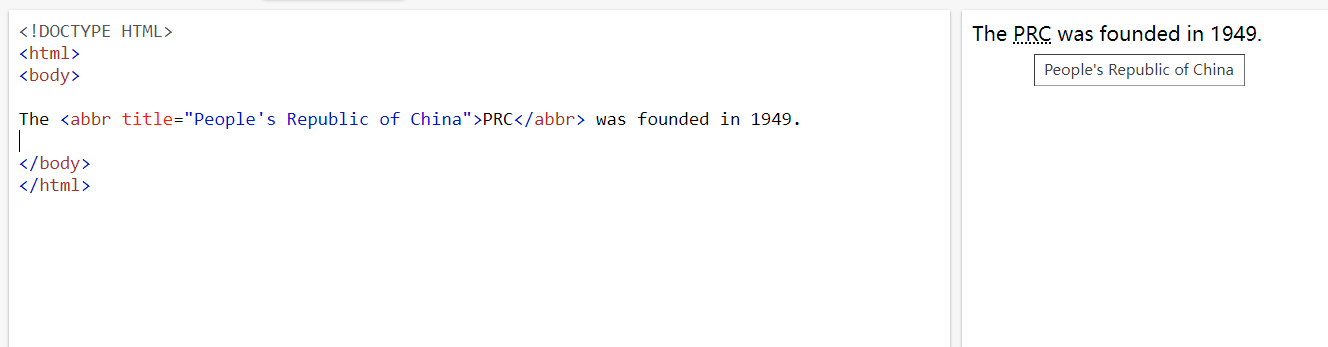
<abbr title="xxx">xxx</abbr> 定义缩写
<address> </address>定义地址
<bdo dir="rtl"> Here is some Hebrew text </bdo>定义文字方向
<blockquote> 定义从其他来源引用的节。 <dfn> 定义项目或缩略词的定义。 <q> 定义短的行内引用。 <cite> 定义著作的标题。

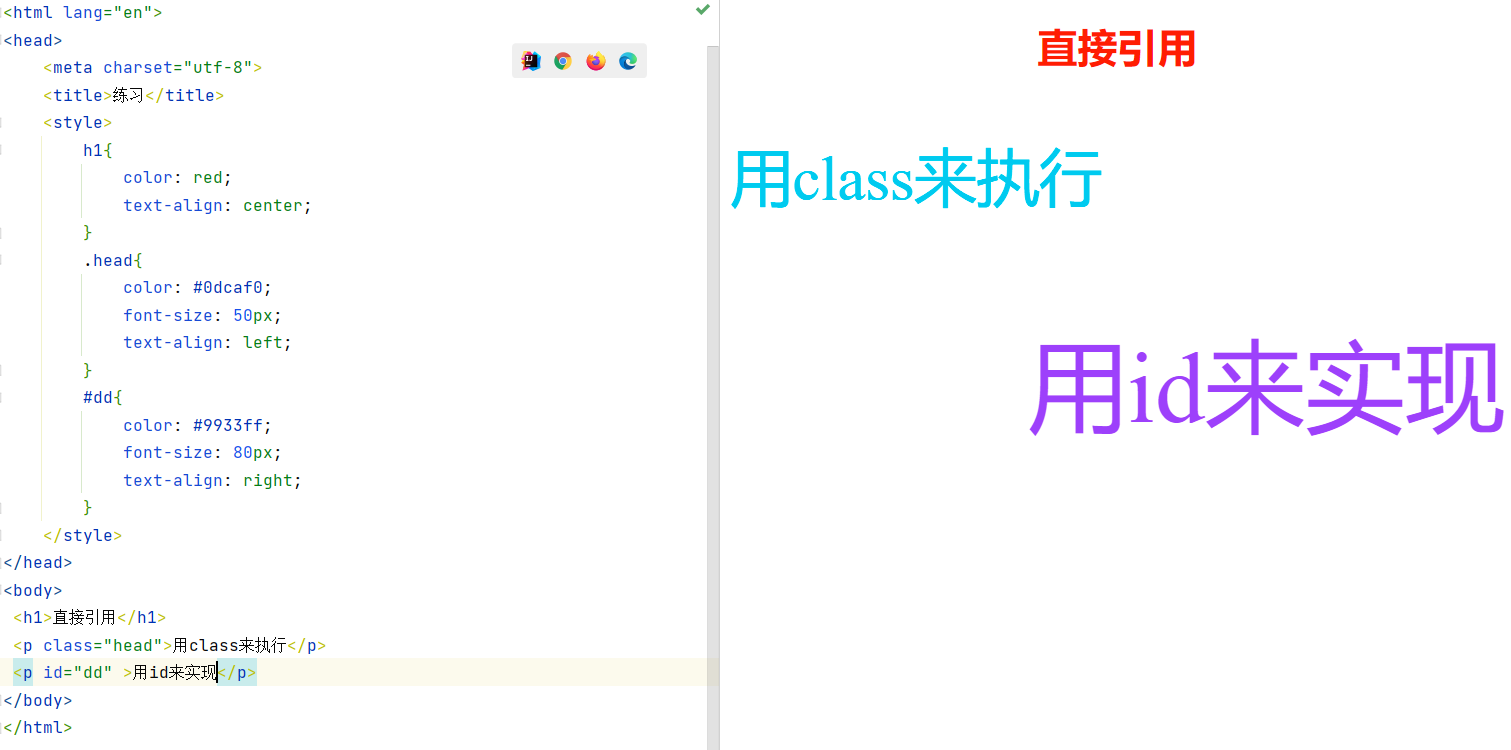
css的引用:
h1{ } 直接修改h1部分
.head{ } 用class=“head” 来引用
#head{ } 用id=“head” 来引用
去掉超链接的下划线
<h3><a href="#">这是一个超链接,未去掉下划线</a></h3> <h3><a href="#" style="text-decoration: none">这是一个超链接,去掉下划线</a></h3>使用 name 属性创建 HTML 页面中的书签。
<a name="label">锚(显示在页面上的文本)</a>在新的浏览窗口打开超链接
<a href="#" target="_blank">该链接会在新窗口中打开</a>连接到同一个页面的不同位置
<a href="#c3">会跳转到name值为c3的位置</a>
<p name="c3">会跳转这个位置</p>
跳出框架
<a href="#" target="_top">会跳出框架</a>超链接发送邮件
<a href="mailto:xxx@xxx?subject=内容">发送邮件</a>
图像的插入:
<img src="url" alt="替换文本书属性,图片显示失败,则显示该文字">图片位置的排列
<h2>未设置对齐方式的图像:</h2>
<p>图像 <img src ="#"> 在文本中</p>
<h2>已设置对齐方式的图像:</h2>
<p>图像 <img src="#" align="bottom"> 在文本中</p>
<p>图像 <img src ="#" align="middle"> 在文本中</p>
<p>图像 <img src ="#" align="top"> 在文本中</p>
<p>请注意,bottom 对齐方式是默认的对齐方式。</p>
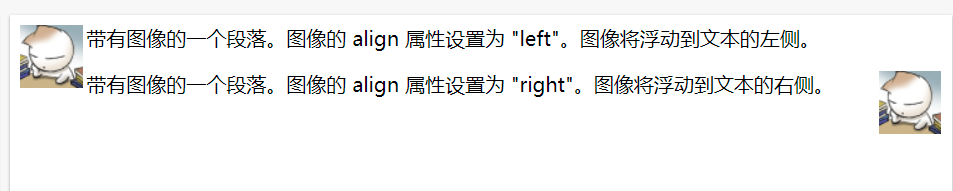
<p>
    <img src ="#" align ="left">
    带有图像的一个段落。图像的 align 属性设置为 "left"。图像将浮动到文本的左侧。
</p>
<p>
    <img src ="#" align ="right">
    带有图像的一个段落。图像的 align 属性设置为 "right"。图像将浮动到文本的右侧。
</p>
改变 img 标签的 "height" 和 "width" 属性的值
<img src="#.jpg" width="50" height="50">创建图像映像
<img src="images/02.jpg" border="0" usemap="#map" alt="map" />
//usemap的值必须与name相同,
<map name="map" id="map">
    <area
            shape="rect"//矩形区域
            coords="3689,261,3973,489"//像素区域
            href ="/images/01.jpg"
            target ="_blank"
            alt="Sun">
</map>


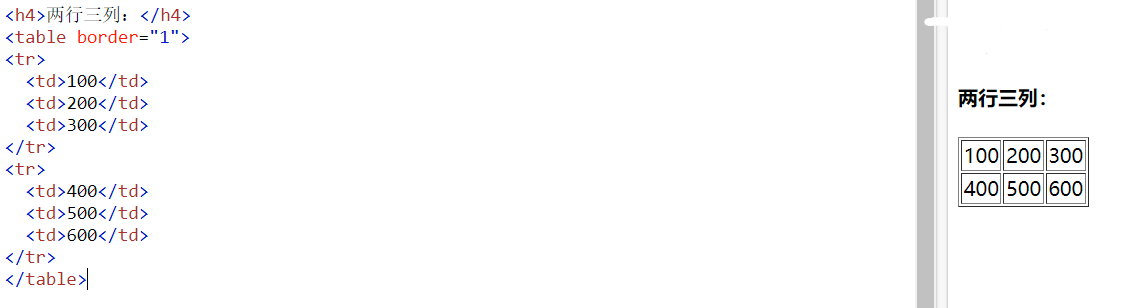
表格:
每个表格由 table 标签开始。
每个表格行由 tr 标签开始。
每个表格数据由 td 标签开始。表格的表头使用 <th> 标签进行定义
border定义边框
<caption>定义表格的标题</caption>
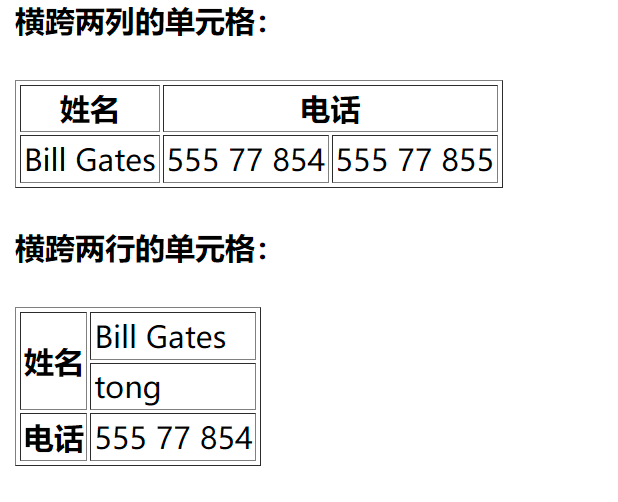
合并单元格
<td>的属性
<th rowspan="2">姓名</th> 姓名占两行<th colspan="2">电话</th> 电话占两列<h4>横跨两列的单元格:</h4> <table border="1"> <tr> <th>姓名</th> <th colspan="2">电话</th> </tr> <tr> <td>Bill Gates</td> <td>555 77 854</td> <td>555 77 855</td> </tr> </table> <h4>横跨两行的单元格:</h4> <table border="1"> <tr> <th rowspan="2">姓名</th> <td>Bill Gates</td> </tr> <tr> <td>tong</td> </tr> <tr> <th>电话</th> <td>555 77 854</td> </tr> </table>
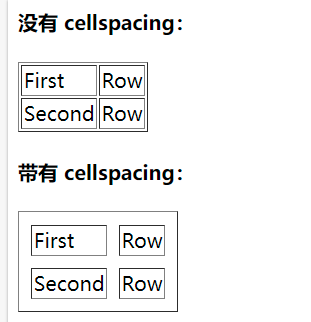
使用 Cell padding 来创建单元格内容与其边框之间的空白
<table border="1"
        cellpadding="10">
    <tr>
        <td>First</td>
        <td>Row</td>
    </tr>
    <tr>
        <td>Second</td>
        <td>Row</td>
    </tr>
</table>
使用 Cell spacing 增加单元格之间的距离
<table border="1"
       cellspacing="10">
    <tr>
        <td>First</td>
        <td>Row</td>
    </tr>
    <tr>
        <td>Second</td>
        <td>Row</td>
    </tr>
</table>

无序列表
<ul>
    <li>咖啡</li>
    <li>茶</li>
    <li>牛奶</li>
</ul>
有序列表 (start 表示序号的起始)
<ol start="50">
    <li>咖啡</li>
    <li>牛奶</li>
    <li>茶</li>
</ol>
边框标签
<fieldset>
    <legend align="center">该文字能插入边框</legend>
</fieldset>
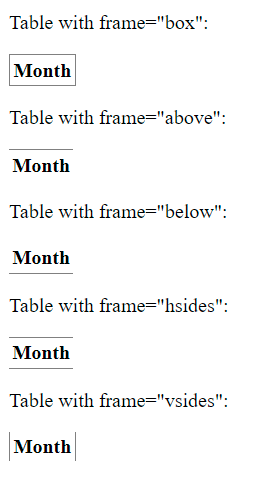
frame标签实现框架(主要用于表格的边框)
<p>Table with frame="box":</p>
<table frame="box">
    <tr>
        <th>Month</th>
    </tr>
</table>

<p>Table with frame="above":</p>
<table frame="above">
    <tr>
        <th>Month</th>
    </tr>
</table>

<p>Table with frame="below":</p>
<table frame="below">
    <tr>
        <th>Month</th>
    </tr>
</table>

<p>Table with frame="hsides":</p>
<table frame="hsides">
    <tr>
        <th>Month</th>
    </tr>
</table>

<p>Table with frame="vsides":</p>
<table frame="vsides">
    <tr>
        <th>Month</th>
    </tr>
</table>

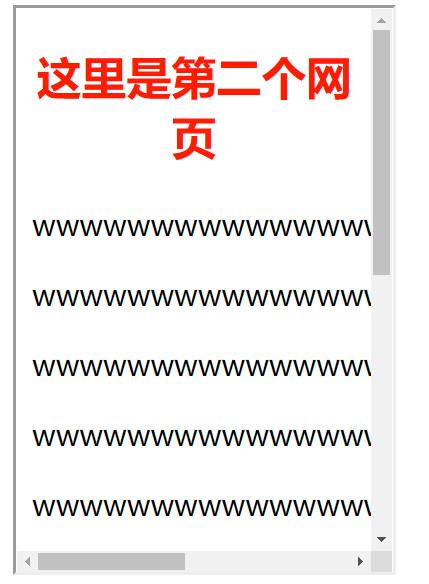
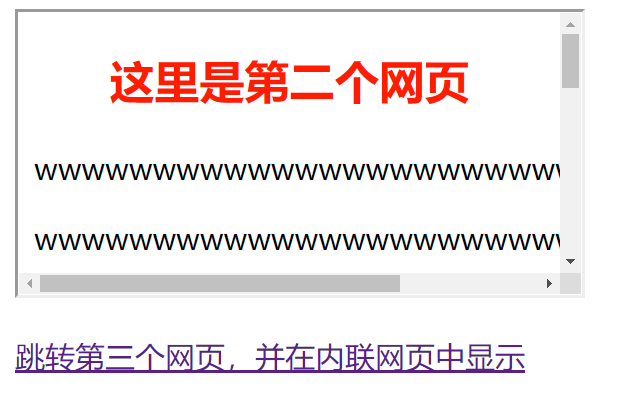
内联框架iframe
<iframe src="lian2.html" width="200px" height="300px"></iframe>
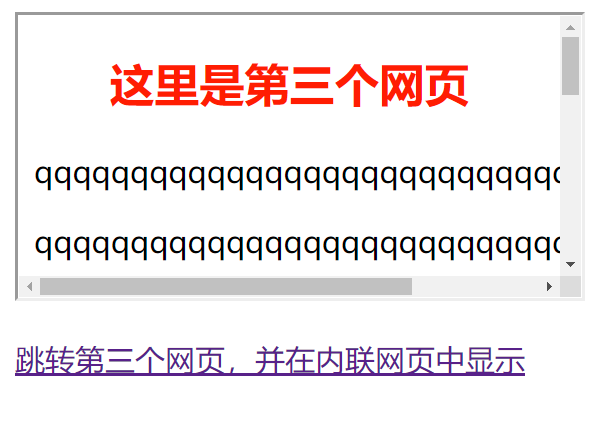
作为跳转的内联
<iframe src="lian2.html" name="name"></iframe>
<p><a href="lian3.html" target="name">跳转第三个网页,并在内联网页中显示</a></p>
通过name进行跳转
表单的应用
<input> 元素是最重要的表单元素。
<input> 元素有很多形态,根据不同的 type 属性
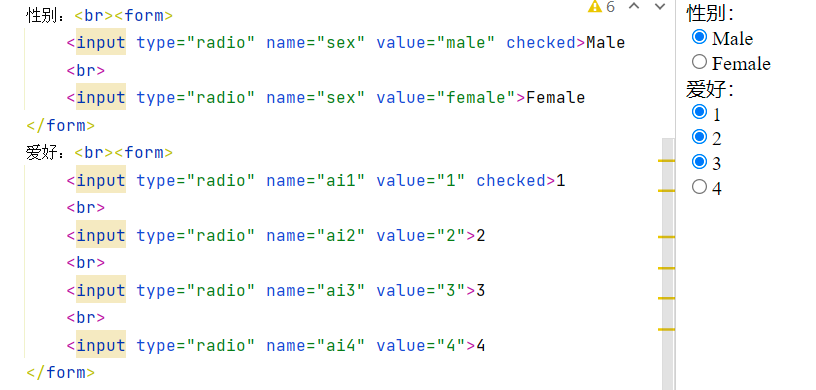
类型 描述 text 定义常规文本输入。 radio 定义单选按钮输入(多选的话name名字可以不同) submit 定义提交按钮(提交表单)
reset 定义重置按钮 性别:<br><form> <input type="radio" name="sex" value="male" checked>Male <br> <input type="radio" name="sex" value="female">Female </form> 爱好:<br><form> <input type="radio" name="ai1" value="1" checked>1 <br> <input type="radio" name="ai2" value="2">2 <br> <input type="radio" name="ai3" value="3">3 <br> <input type="radio" name="ai4" value="4">4 </form>
文本输入
<input type="text"> 定义用于文本输入的单行输入字段:
提交按钮
<input type="submit"> 定义用于向表单处理程序提交表单的按钮。
表单处理程序通常是包含用来处理输入数据的脚本的服务器页面(表单处理程序在表单的 action 属性中指定)
Action 属性
action 属性定义在提交表单时执行的动作。
向服务器提交表单的通常做法是使用提交按钮。
通常,表单会被提交到 web 服务器上的网页。
<form action="action_page.php">Method 属性
method 属性规定在提交表单时所用的 HTTP 方法(GET 或 POST):
<form action="action_page.php" method="get\post">使用 GET 时,表单数据在页面地址栏中是可见的(默认)
POST 的安全性更好,因为在页面地址栏中被提交的数据是不可见的、
Name 属性
如果要正确地被提交,每个输入字段必须设置一个 name 属性。
Target 属性
target属性规定提交表单后在何处显示响应。
target属性可设置以下值之一:
值 描述 _blank 响应显示在新窗口或选项卡中。 _self(默认) 响应显示在当前窗口中。 _parent 响应显示在父框架中。 _top 响应显示在窗口的整个 body 中。 framename 响应显示在命名的 iframe 中。


表单属性:
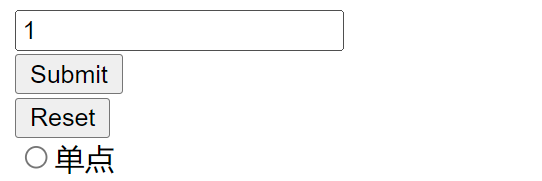
<input> 元素
<input type="text" name="firstname" value="name">//文本类型
<input type="submit" value="Submit">//提交按钮
<input type="reset" value="Reset">//重置类型
<input type="radio" value="单选">//单选
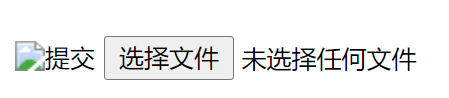
<input type="image">//图片作为提交按钮
<input type="file">
<input type="password"> 定义密码字段
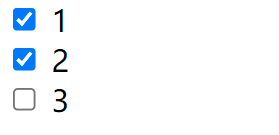
<input type="checkbox"> 定义复选框。复选框允许用户在有限数量的选项中选择零个或多个选项。
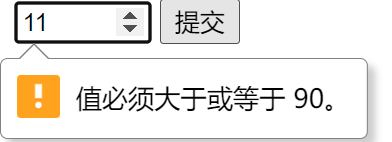
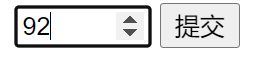
<input type="number"> 用于应该包含数字值的输入字段。能够对数字做出限制。<input name="num" type="number" max="100" min="90"> <input type="submit" value="提交">
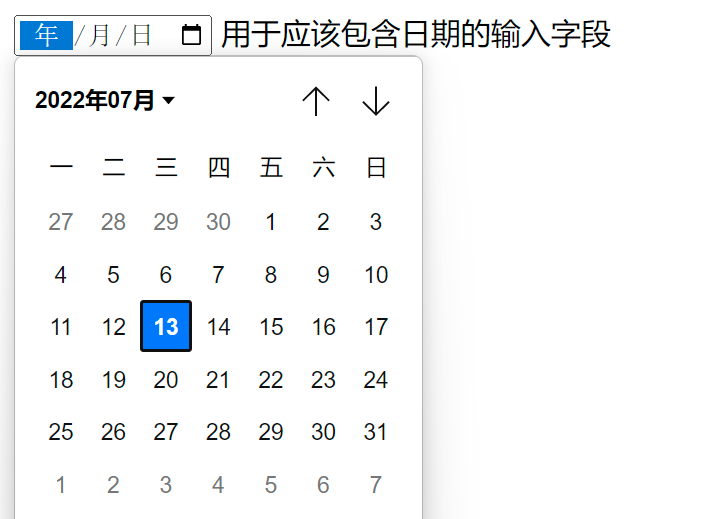
<input type="date"> 用于应该包含日期的输入字段<input type="range" max="100" min="50"> 显示为滑块控件。<input type="week"> 允许用户选择周和年
<form>
  Enter a date before 1980-01-01:
  <input type="date" name="bday" max="1979-12-31"><br>
  Enter a date after 2000-01-01:
  <input type="date" name="bday" min="2000-01-02"><br>
</form>
<input type="color"> 用于应该包含颜色的输入字段。
<input type="range"> 输入字段能够显示为滑块控件。
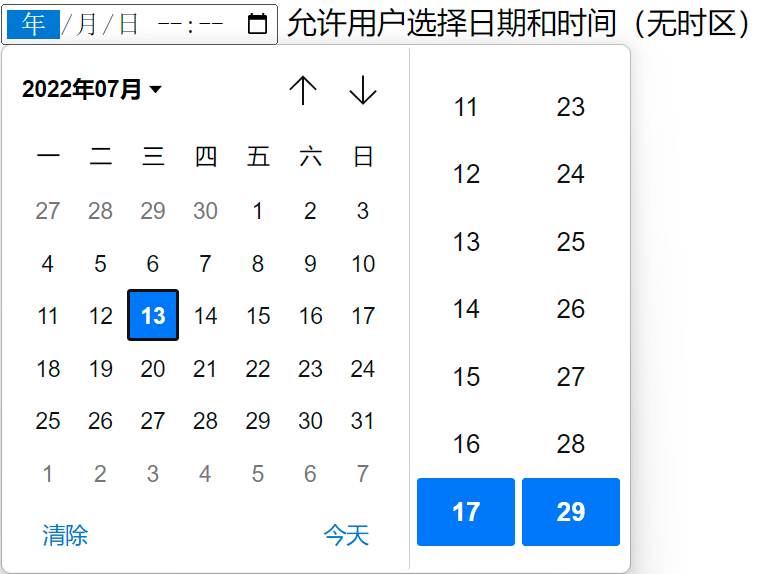
<input type="datetime-local"> 允许用户选择日期和时间(无时区)
<input type="email"> 用于应该包含电子邮件地址的输入字段
<input type="search"> 用于搜索字段(搜索字段的表现类似常规文本字段)
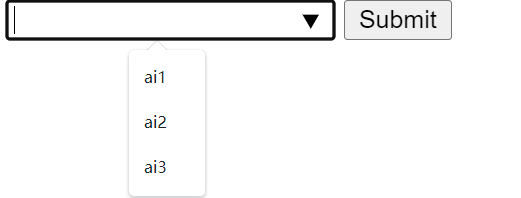
<select> 元素(下拉列表)
<option> 元素定义待选择的选项。
<select name="aihao">
    <option value="ai1">ai1</option>
    <option value="ai2">ai2</option>
    <option value="ai3">ai3</option>
</select>
<textarea> 元素
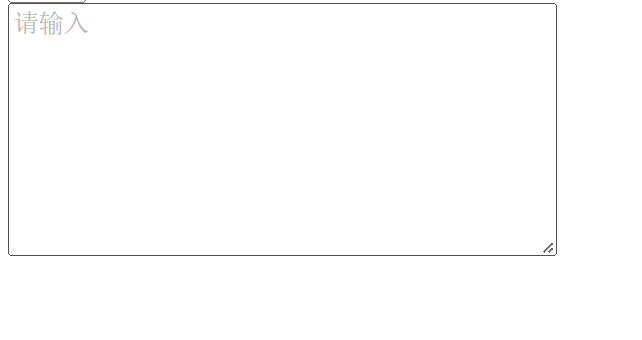
<textarea> 元素定义多行输入字段(文本域)
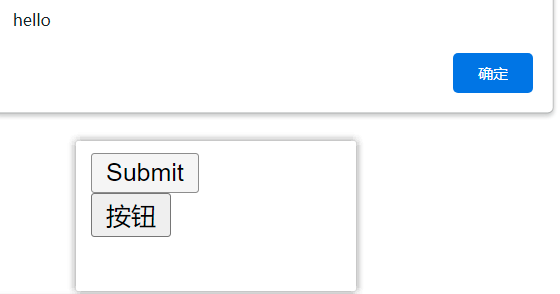
<button> 元素
<button> 元素定义可点击的按钮
<input type="submit" value="Submit" οnclick="alert('hello')"><br>
<button type="button" οnclick="alert('world')">按钮</button><br>
<datalist> 元素
为 <input> 元素规定预定义选项列表。
用户会在他们输入数据时看到预定义选项的下拉列表。
<input type="text" name="aihao" list="aihao">
<datalist id="aihao">  //下拉列表的id必须与输入的list相等
    <option value="ai1">ai1</option>
    <option value="ai2">ai2</option>
    <option value="ai3">ai3</option>
</datalist>
<input type="submit" value="Submit"><br>


input的属性值
value 属性规定输入字段的初始值
<input type="text" value="初始值">
<input type="text" value="">
readonly 属性规定输入字段为只读(不能修改)
只读部分:<input type="text" value="初始值" readonly>
可以修改:<input type="text" value="">
disabled 属性规定输入字段是禁用的,被禁用的元素是不可用和不可点击的,被禁用的元素不会被提交。
<input type="text" value="初始值" disabled><br>
<input type="text" value="">
size 属性规定输入字段的尺寸(以字符计)
maxlength 属性规定输入字段允许的最大长度
<input type="text" value="" maxlength="50"><br>
<input type="text" value="" size="40">
novalidate 属性设置,则 novalidate 规定在提交表单时不对表单数据进行验证。
<form action="action_page.php" novalidate>
    E-mail: <input type="email" name="user_email">
    <input type="submit">
</form>
autofocus 属性设置,则规定当页面加载时 <input> 元素应该自动获得焦点,无需点击文本框
First name:<input type="text" name="fname" autofocus>
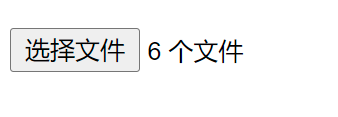
multiple 属性设置,则规定允许用户在 <input> 元素中输入多个的值。
<input type="file" multiple>
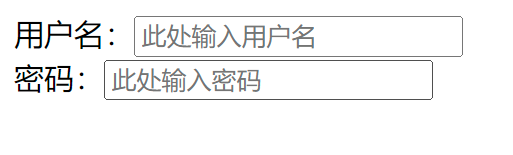
placeholder 属性规定用以描述输入字段预期值的提示,该提示会在用户输入值之前显示在输入字段中
用户名:<input type="text" placeholder="此处输入用户名"><br>
密码:<input type="password"  placeholder="此处输入密码">
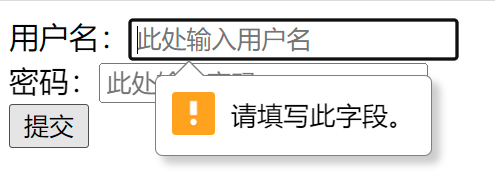
required 属性设置,则规定在提交表单之前必须填写输入字段,不能为空
用户名:<input type="text" placeholder="此处输入用户名" required><br>
密码:<input type="password"  placeholder="此处输入密码" required><br>
<input type="submit" value="提交">


画布元素
canvas 元素使用 JavaScript 在网页上绘制图像,规定元素的 id、宽度和高度
<canvas id="myCanvas" width="200" height="100"></canvas><script type="text/javascript"> var c=document.getElementById("myCanvas");//使用id寻找canvas元素 var cxt=c.getContext("2d");//getContext("2d") 对象是内建的 HTML5 对象,拥有多种绘制路径、矩形、圆形、字符以及添加图像的方法 cxt.fillStyle="#FF0000";//染色 cxt.fillRect(0,0,150,75);//规定形状 </script>
嵌入、插入对象
<object>元素定义 HTML 文档中的嵌入式对象
<embed>元素也可定义了 HTML 文档中的嵌入式对象均可插入音乐、网页、视频、图片均可
<audio src="url" controls="controls"></audio>
属性 值 描述 autoplay autoplay 如果出现该属性,则音频在就绪后马上播放。 controls controls 如果出现该属性,则向用户显示控件,比如播放按钮。 loop loop 如果出现该属性,则每当音频结束时重新开始播放。 muted muted 规定视频输出应该被静音。 preload preload 如果出现该属性,则音频在页面加载时进行加载,并预备播放。
如果使用 "autoplay",则忽略该属性。
src url 要播放的音频的 URL。