文章目录
- 一、nginx主配置文件nginx.conf
- 1.认识nginx服务的主配置文件
- 2.全局配置
- 3.I/O事件配置
- 4.HTTP配置
- 5.检查配置文件是否正确
- 6.浏览器测试
- 二、实战操作
- 1.nginx的访问状态统计
- 2.基于授权的访问控制:
- 3.基于客户端访问设置(设置黑白名单):
- 4.基于域名的nginx虚拟主机
- 5.基于IP的nginx虚拟主机:
- 6.基于端口nginx虚拟主机:
一、nginx主配置文件nginx.conf
1.认识nginx服务的主配置文件
vim /usr/local/nginx/conf/nginx.conf
2.全局配置
#运行用户,若编译时未指定则默认为 nobody
#user nobody;
#工作进程数量,可配置成服务器内核数 * 2,如果网站访问量不大,一般设为1就够用了
worker_processes 4;
#错误日志文件的位置
#error_log logs/error.log;
#PID 文件的位置
#pid logs/nginx.pid;
拓展:
2p:2个物理cpu
4c:1个物理核有4个核心,一共有2*4=8个逻辑核
例:4c、16G 硬盘是高效盘,相当于系统盘
存储:oss
网络存储:nas
用什么机器:私有云
3.I/O事件配置
events {
#使用 epoll 模型,2.6及以上版本的系统内核,建议使用epoll模型以提高性能
    use epoll;
#每个进程处理 4096 个连接   2000
    worker_connections 4096;
}
#如提高每个进程的连接数还需执行“ulimit -n 65535”命令临时修改本地每个进程可以同时打开的最大文件数。
#在Linux平台上,在进行高并发TCP连接处理时,最高的并发数量都要受到系统对用户单一进程同时可打开文件数量的限制(这是因为系统为每个TCP连接都要创建一个socket句柄,每个socket句柄同时也是一个文件句柄)。

#可使用ulimit -a命令查看系统允许当前用户进程打开的文件数限制。
/etc/security/limits.conf

#epoll是Linux内核为处理大批句柄而作改进的poll,是Linux下多路复用IO接口select/poll的增强版本,它能显著的减少程序在大量并发连接中只有少量活跃的情况下的系统CPU利用率。
若工作进程数为 8,每个进程处理 4 096 个连接,则允许 Nginx 正常提供服务的连接数
已超过 3 万个(4 096×8=32 768),当然具体还要看服务器硬件、网络带宽等物理条件的性
能表现。
总:
临时修改内核的大小:ulimit -n
永久修改内核的大小:/etc/security/limits.conf
查看内核的大小:ulimit -a
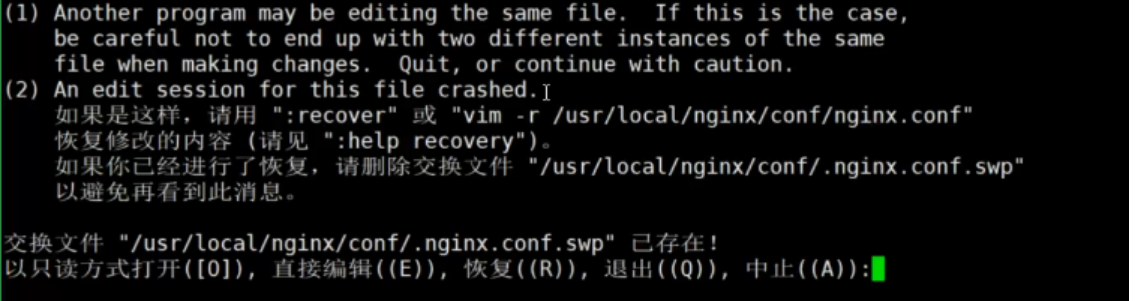
如果编辑文件时出现“注意”的可以使用:rm -rf /usr/local/nginx/conf/.nginx.conf.swp————删除这个生成的文件
4.HTTP配置
使用“http { }”界定标记,包括访问日志、HTTP 端口、网页目录、默认字符集、连接保持,以及后面要讲到的虚拟 Web 主机、PHP 解析等一系列设置,其中大部分配置语句都包含在子界定标记“server { }”内
http {
	##文件扩展名与文件类型映射表
    include       mime.types;
	##默认文件类型
    default_type  application/octet-stream;
	##日志格式设定,前端给日志信息定位配置
    #log_format  main  '$remote_addr - $remote_user [$time_local] "$request" '
    #                  '$status $body_bytes_sent "$http_referer" '
    #                  '"$http_user_agent" "$http_x_forwarded_for"';
	##访问日志位置
    #access_log  logs/access.log  main;
	##支持文件发送(下载)
    sendfile        on;
	##此选项允许或禁止使用socket的TCP_CORK的选项(发送数据包前先缓存数据),此选项仅在使用sendfile的时候使用
    #tcp_nopush     on;
	##连接保持超时时间,单位是秒
    #keepalive_timeout  0;
    keepalive_timeout  65;
	##gzip模块设置,设置是否开启gzip压缩输出
    #gzip  on;

	##Web 服务的监听配置
	server {
		##监听地址及端口
		listen 80;
		##站点域名,可以有多个,用空格隔开
		server_name www.ff.com;
		##网页的默认字符集
		charset utf-8;
		##根目录配置
		location / {
			##网站根目录的位置/usr/local/nginx/html
			root html;
			##默认首页文件名
			index index.html index.php;
		}
		##内部错误的反馈页面
		error_page 500 502 503 504 /50x.html;
		##错误页面配置
		location = /50x.html {
			root html;
		}
	}用来记录客户端用户名称;
}
日志格式设定
| 命令 | 含义 |
|---|---|
| r e m o t e a d d r 、 remote_addr、 remoteaddr、http_x_forwarded_for | 用以记录客户端的ip地址; |
| $remote_user | 用来记录客户端用户名称; |
| $time_local | 用来记录访问时间与时区 |
| $request | 用来记录请求的url与http协议 |
| $status | 用来记录请求状态;成功是200 |
| $body_bytes_sent | 记录发送给客户端文件主体内容大小 |
| $http_referer | 用来记录从哪个页面链接访问过来的; |
| $http_user_agent | 记录客户浏览器的相关信息; |
通常web服务器放在反向代理的后面,这样就不能获取到客户的IP地址了,通过$remote_add拿到的IP地址是反向代理服务器的iP地址。反向代理服务器在转发请求的http头信息中,可以增加x_forwarded_for信息,用以记录原有客户端的IP地址和原来客户端的请求的服务器地址。

location常见配置指令,root、alias、proxy_pass
root(根路径配置):root /var/www/html
请求www.kgc.com/test/1.html,会返回文件/var/www/html/test/1.html

alias(别名配置):alias /var/www/html
请求www.kgc.com/test/1.html,会返回文件/var/www/html/1.html
proxy_pass(反向代理配置)


5.检查配置文件是否正确

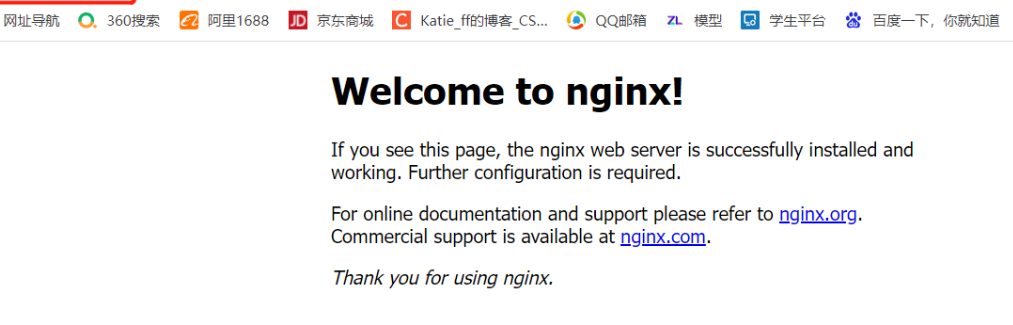
6.浏览器测试
二、实战操作
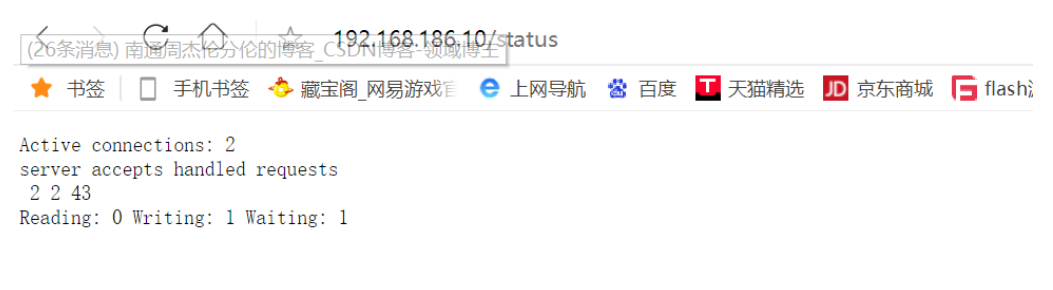
1.nginx的访问状态统计
[root@localhost init.d]# vim /usr/local/nginx/conf/nginx.conf
server {
        listen       80;
        server_name  localhost;
charset utf-8;
#access_log  logs/host.access.log  main;
location / {
            root   html;
            index  index.html index.htm index.php;
        }
 location /status {
            stub_status on;
            access_log off;
        }
[root@localhost init.d]# vim /usr/local/nginx/conf/nginx.conf  #重启服务
2.基于授权的访问控制:
(1)生成用户密码认证文件:
yum -y install httpd-tools  #安装服务
[root@localhost opt]# htpasswd -c /usr/local/nginx/passwd.db xiumin #添加创建系统用户并设置密码
New password:
Re-type new password:
Adding password for user xiumin
[root@localhost opt]# chown nginx /usr/local/nginx/passwd.db #修改属主
[root@localhost opt]# chmod 400 /usr/local/nginx/passwd.db  #赋权
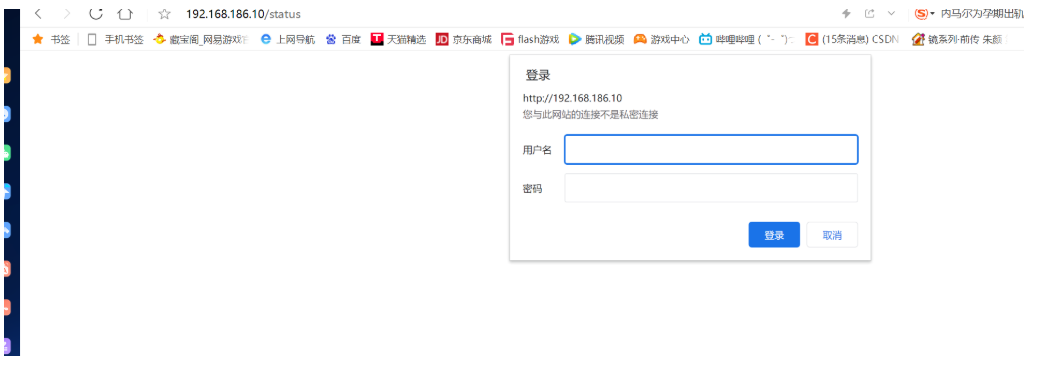
(2)修改主配置文件相对应目录,添加认证配置项:
[root@localhost opt]# vim /usr/local/nginx/conf/nginx.conf
location /status {
            stub_status on;
            access_log off;
            auth_basic "secret";  #设置密码提示框信息
            auth_basic_user_file /usr/local/nginx/passwd.db;
        }
(3)重启服务,并做访问测试:
[root@localhost opt]# nginx -t
nginx: the configuration file /usr/local/nginx/conf/nginx.conf syntax is ok
nginx: configuration file /usr/local/nginx/conf/nginx.conf test is successful
[root@localhost opt]# systemctl restart nginx.service
3.基于客户端访问设置(设置黑白名单):
deny拒绝某个IP/IP段客户机访问
allow允许某个IP/IP段客户机访问
规则匹配顺序,从上往下,匹配即停止。
需求:添加一条规则只允许192.168.174.12IP的主机访问
[root@localhost opt]# vim /usr/local/nginx/conf/nginx.conf
location / {
            root   html;
            index  index.html index.htm index.php;
            allow 192.168.186.10;
            deny all;
        }
(2)重启服务
[root@localhost ~]# systemctl restart nginx.service
4.基于域名的nginx虚拟主机
(1)修改 /etc/hosts 文件,添加域名与IP的本地映射:
[root@localhost ~]# echo "192.168.186.10 www.hhh.com" >> /etc/hosts
[root@localhost ~]# echo "192.168.186.10 www.bkpp.com" >> /etc/hosts
(2)创建网页文件:
[root@localhost ~]# mkdir -p /var/www/html/hhh
[root@localhost ~]# mkdir -p /var/www/html/bkpp
[root@localhost ~]# echo "<h1> www.hhh.com </h1>" >> /var/www/html/hhh/index.html
[root@localhost ~]# echo "<h1> www.bkpp.com </h1>" >> /var/www/html/bkpp/index.html
[root@localhost ~]#
3)修改ngxin主配置文件:域名不同,IP地址相同,端口相同
[root@localhost opt]# vim /usr/local/nginx/conf/nginx.conf
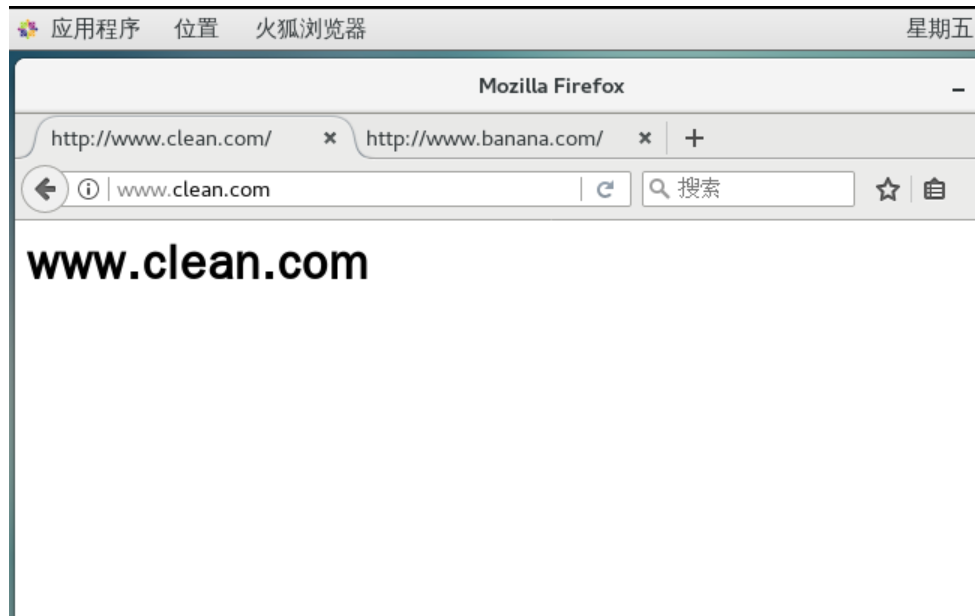
server {
listen 192.168.186.10:80;
server_name www.clean.com;
charset utf-8;
access_log logs/clean.access.log;
location / {
root /var/www/html/clean;
index index.html index.htm index.php;
}
error_page 500 502 503 504 /50x.html;
location = /50x.html {
root html;
}
}
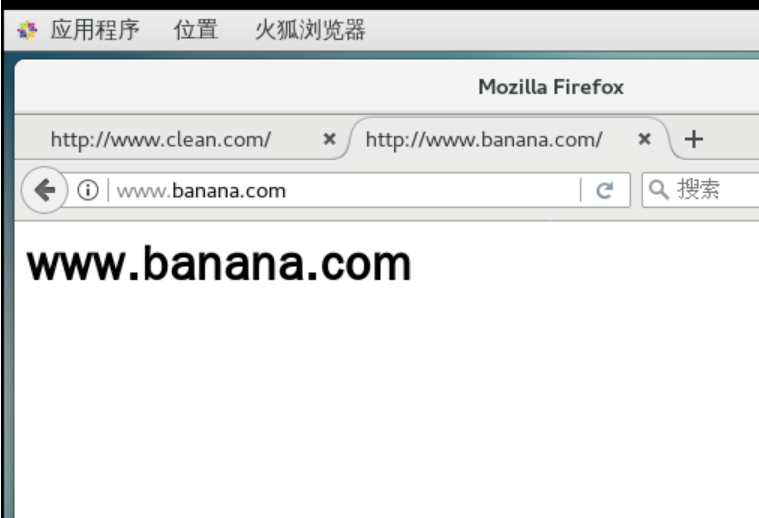
server {
listen 192.168.186.10:80;
server_name www.banana.com;
charset utf-8;
access_log logs/banana.access.log;
location / {
root /var/www/html/banana;
index index.html index.htm index.php;
}
}
5.基于IP的nginx虚拟主机:
(1)创建虚拟网卡:
[root@localhost opt]# ifconfig ens33:0 192.168.186.200 netmask 255.255.255.0
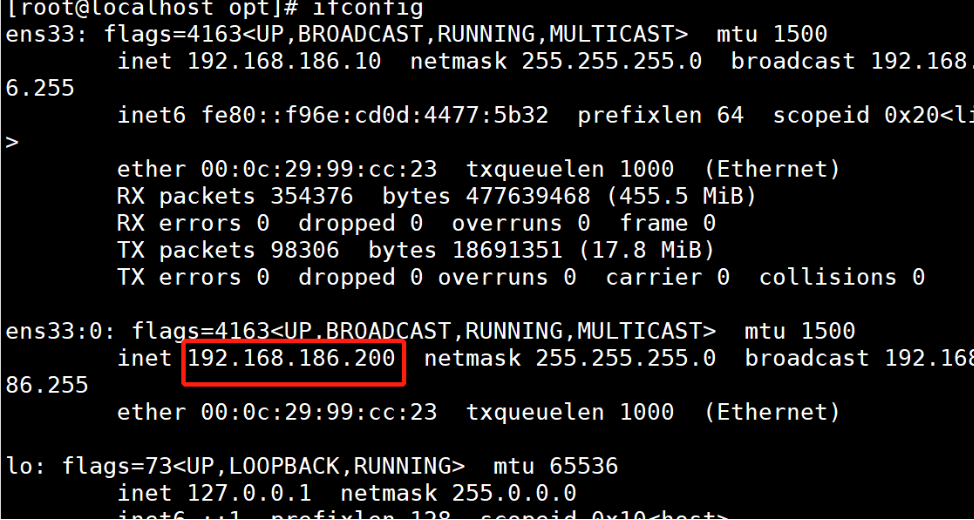
(2)修改nginx主配置文件 www.clean.com 配置的IP地址为192.168.186.200
vim /usr/local/nginx/conf/nginx.conf
 server {
        listen     192.168.186.200:80;
        server_name  www.clean.com;

        charset utf-8;
        access_log  logs/clean.access.log;
        location / {

            root   /var/www/html/clean;
            index  index.html index.htm index.php;
  }
        error_page   500 502 503 504  /50x.html;
        location = /50x.html {
            root   html;
        }
}

wq!
nginx -t
nginx: the configuration file /usr/local/nginx/conf/nginx.conf syntax is ok
nginx: configuration file /usr/local/nginx/conf/nginx.conf test is successful

systemctl restart nginx.service

6.基于端口nginx虚拟主机:
修改nginx主配置文件www.clean.com配置的IP地址为192.168.186.10 端口为8080
vim /usr/local/nginx/conf/nginx.conf
    server {
        listen       192.168.186.10:8080;
        server_name  www.clean.com;

        charset utf-8;

        access_log  logs/clean.access.log;

        location / {
            root   /var/www/html/clean;
             index  index.html index.htm index.php;
        }
        error_page   500 502 503 504  /50x.html;
        location = /50x.html {
            root   html;
        }
}

wq!

nginx -t
nginx: the configuration file /usr/local/nginx/conf/nginx.conf syntax is ok
nginx: configuration file /usr/local/nginx/conf/nginx.conf test is successful
systemctl restart nginx.service